I know this is a few years late but I also know that there is a few Old Dorados alive out there.
This is a work in progress and some words are missing, some of the pictures may come in handy anyway!
Spelling/word help is appreciated!
-------------------------------------------------------------------------------------------------------------------------
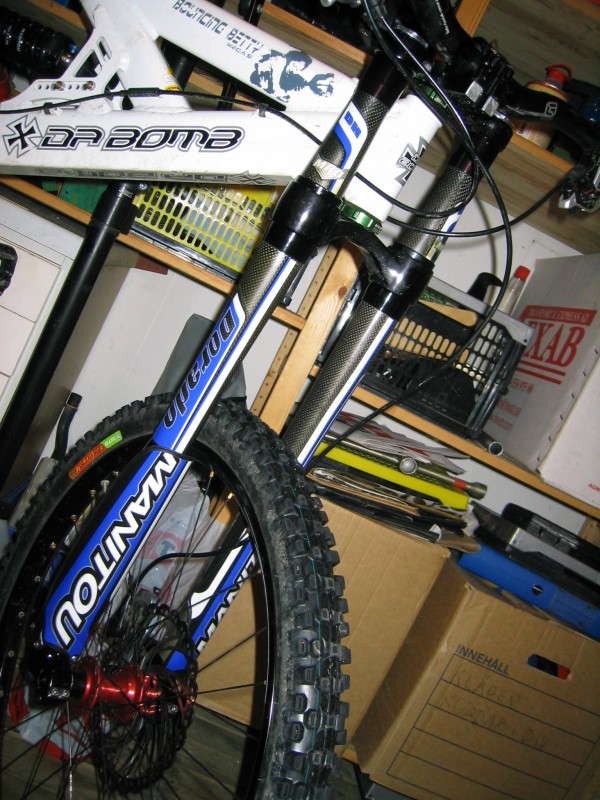
After hours of searching for any helpful service info from Manitou about the Dorado 05 fork I gave up and realized there was none. I simply had to make my own. I'm no fork expert but i know my way around in the toolbox and understand basic physics. With some help from experienced fork mechanics, forums and hours of testing in my shed I've now completely documented a basic stage disassemble and the tricky air-bleeding part I've heard people had some problems with. Chimstaks I handle to fork experts, but one day I might learn and I assure you that it will be documented as well!
To start of, again... I'M NO EXPERT!
My technique has worked fine for me and I've actually managed to repair the fork from childhood damage caused by previous owner.
All info is grounded from speculations and testing.
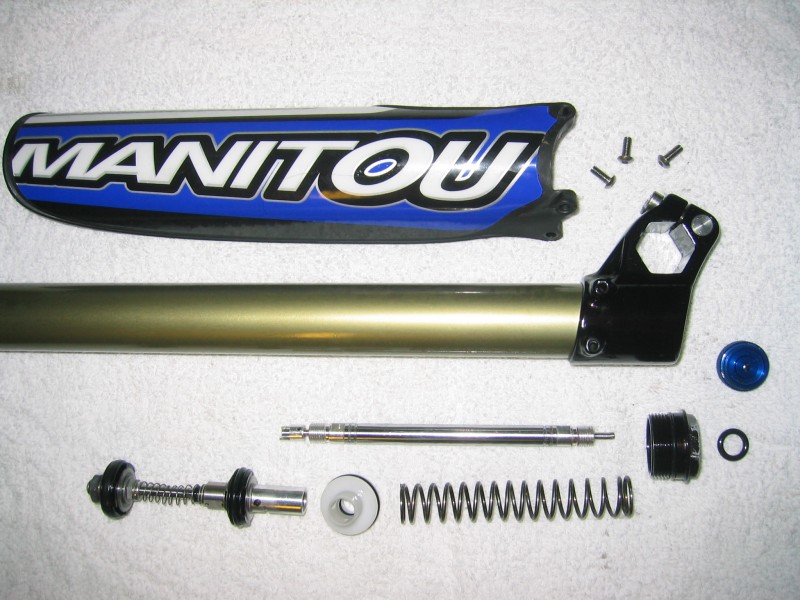
If you find the left-leg documentary missing it's because I left that one out. It's built like the right one but without the tricky parts...
Step 1:
Start off by picking a playlist that makes you happy. This will take a while...
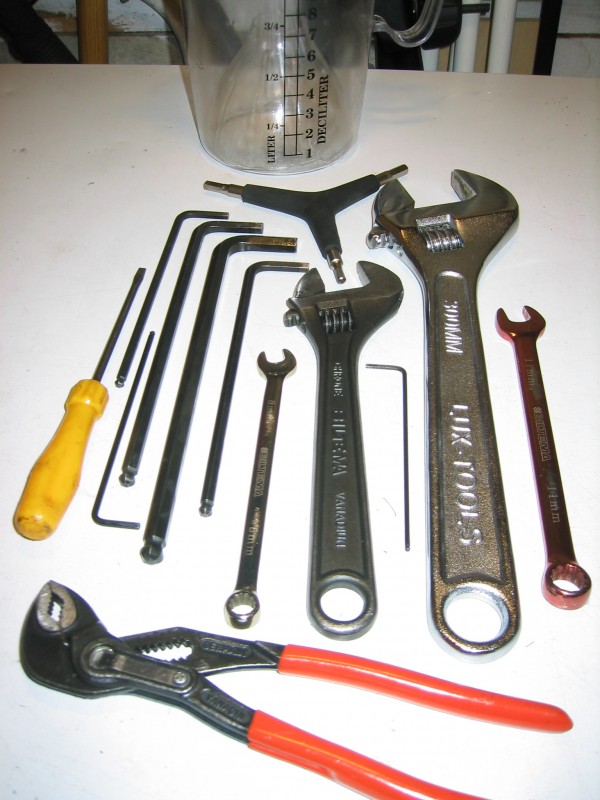
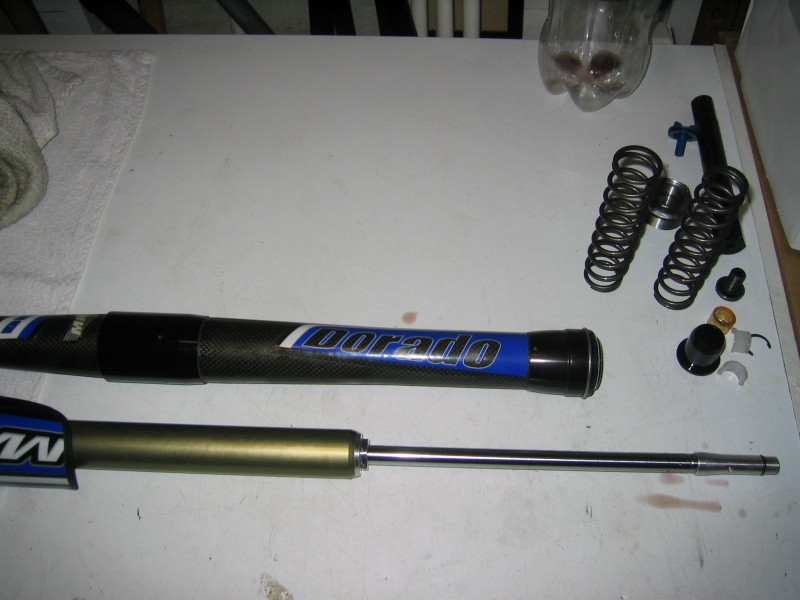
This is the set of tool that you'll need...
I'm required by duty to use an universal screw spanner cous I'm from Sweden. I STRONGLY advice you to find suitable double-ended spanners instead and you'll understand soon why by the looks of my pore headcaps and other internal nuts.
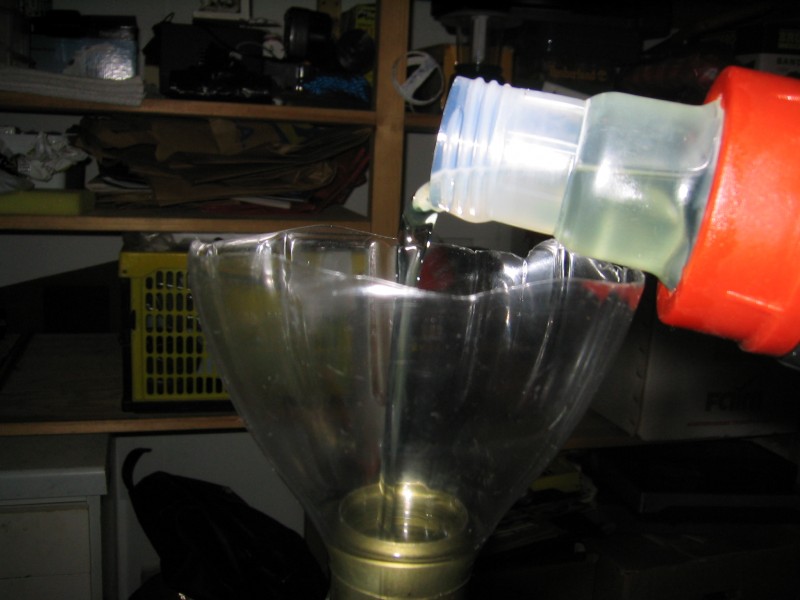
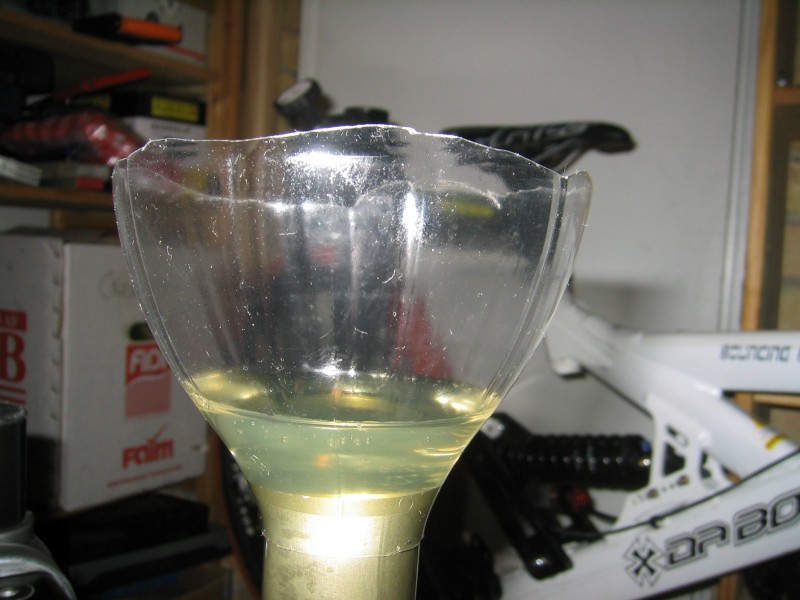
Oils: 2,5-5w fork oil ~200-300cc, 5w40 Motor oil ~50cc
Remove the hex-axel and front wheel by first fully untighten the main bolt on left side.

Untighten the 4 clampbolts, 2 on each leg.
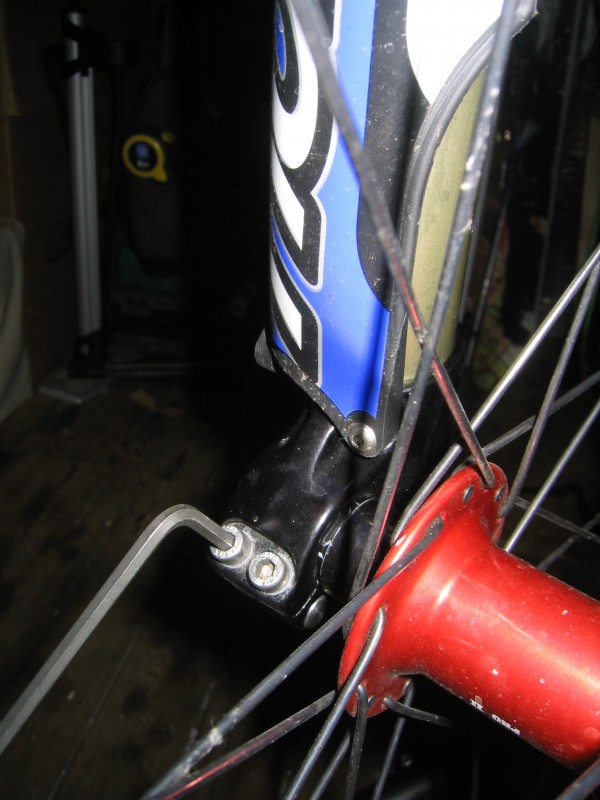
Push the Hex-axle from the left side, sometimes you may have to re-install the main bolt halfway and give it a light tap with a rubber-hammer. always make sure there is a little greese on the axle when mounting and the next time taking it out it will be effortless.
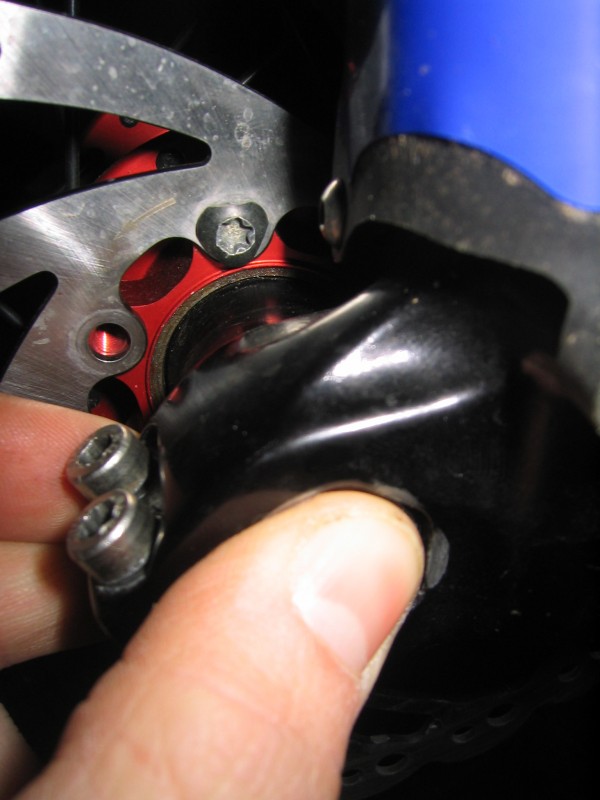
Pull it out and remove the wheel.
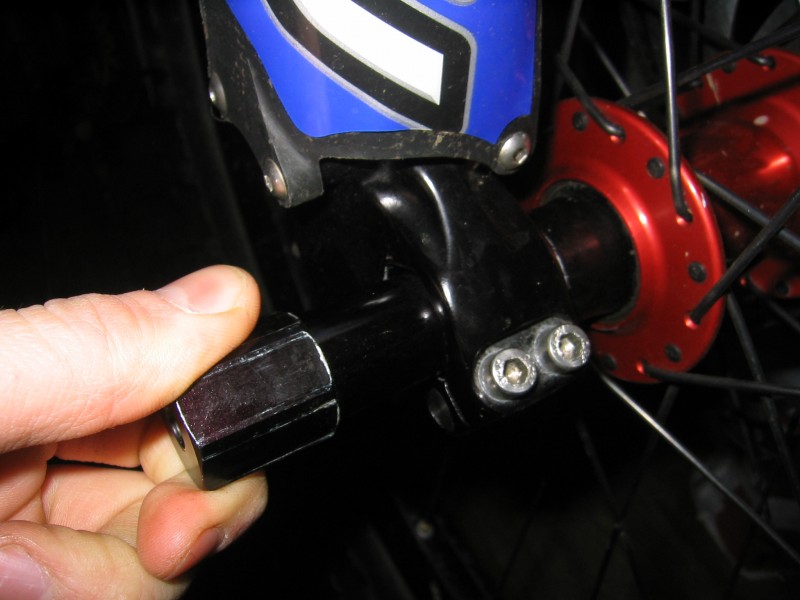
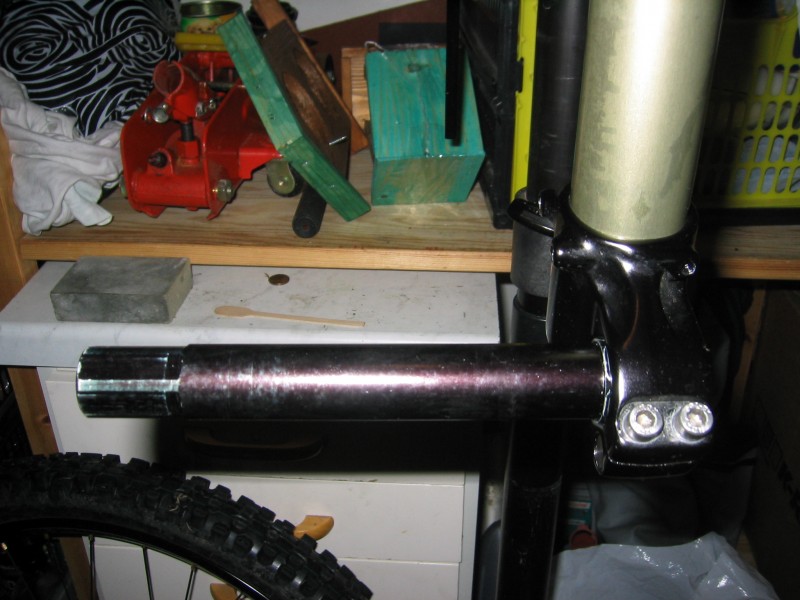
Re-instal the Hex-axle again in right leg and tighten up the clamp bolt. This trick will come in handy later!
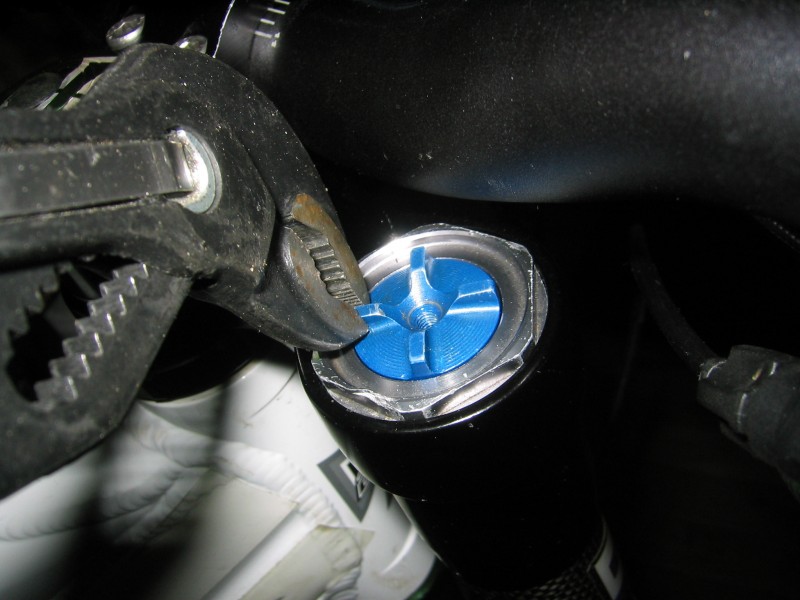
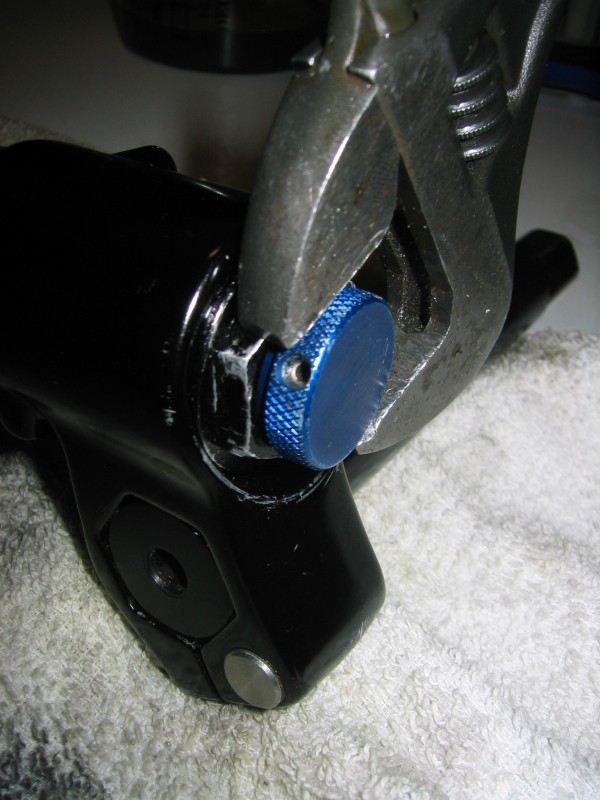
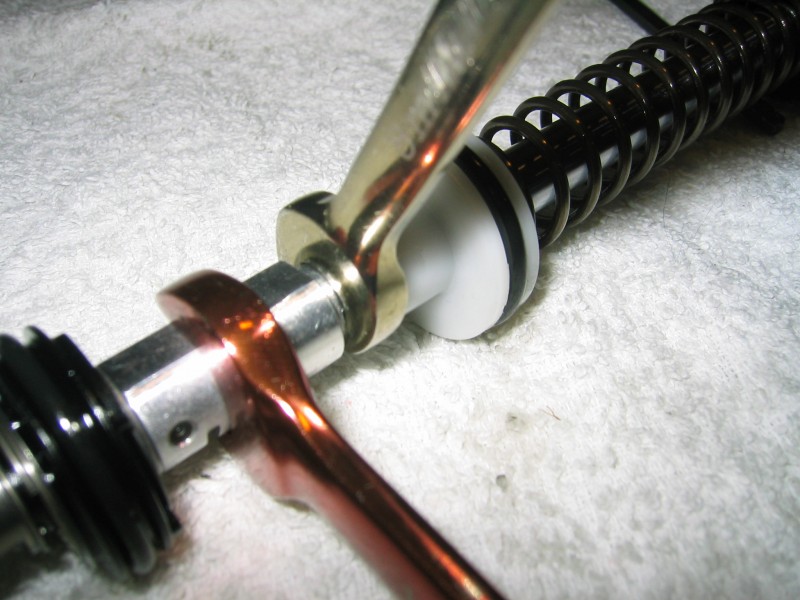
Remove the rebound adjuster bolt.
It can be tricky to pull it out by hand. I'm using a polygrip plier.
Loosen up the 3 crown-clamp bolts on right side.
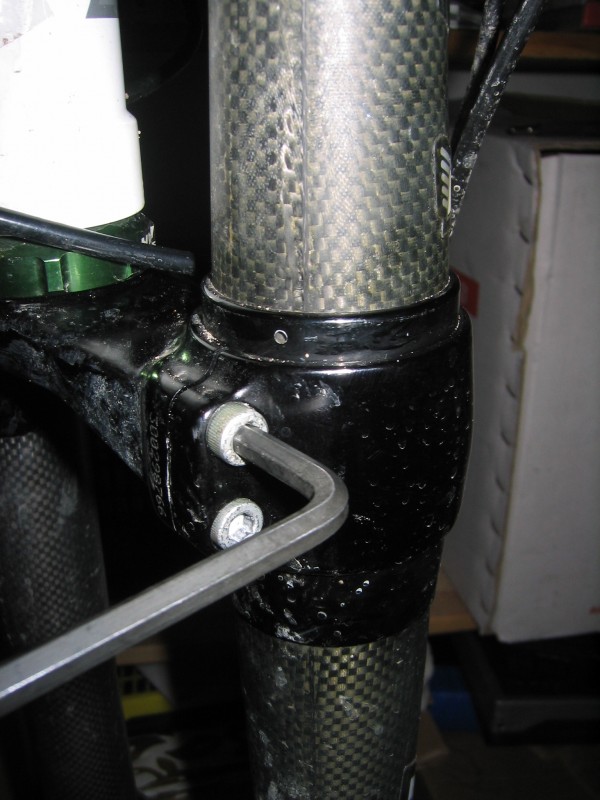
Twist/pull the leg, the twisting makes it a HOLE lot easier I've noticed.
I'm using my bikestand in some of the steps. If you do, make sure to not over-tighten and look for sharp edges BEFORE you clamp the fragile legs.
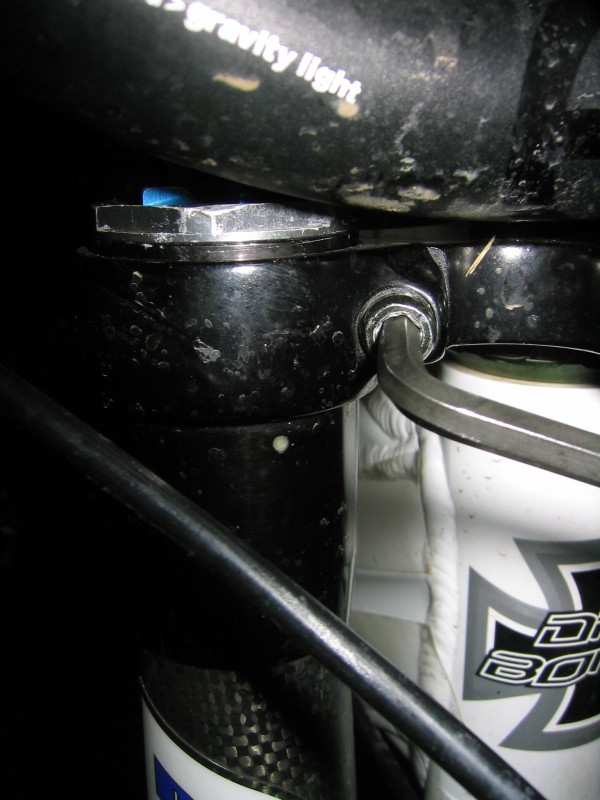
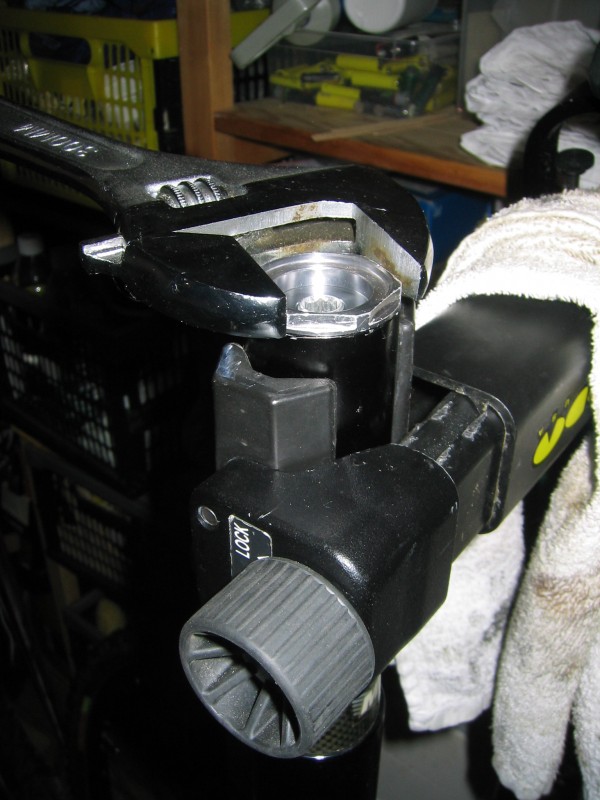
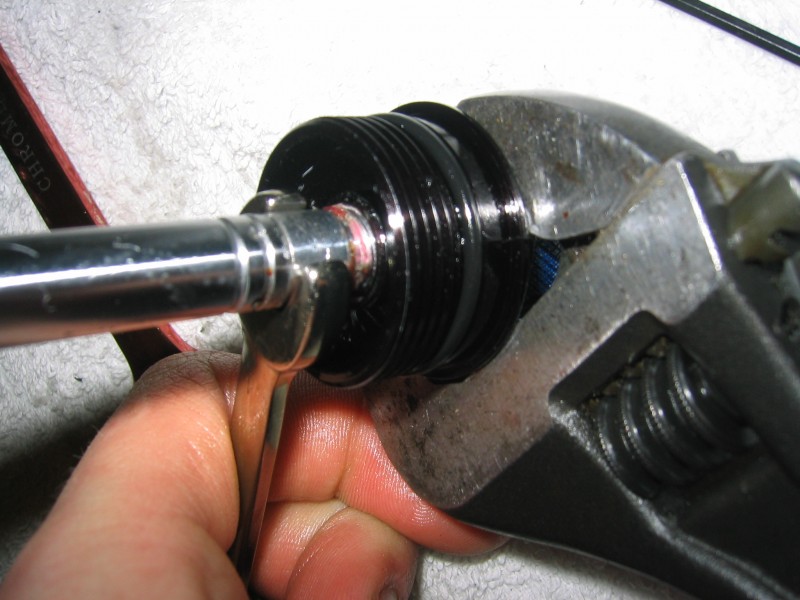
Again, this is some seriously soft aluminium! find a suitable spanner!
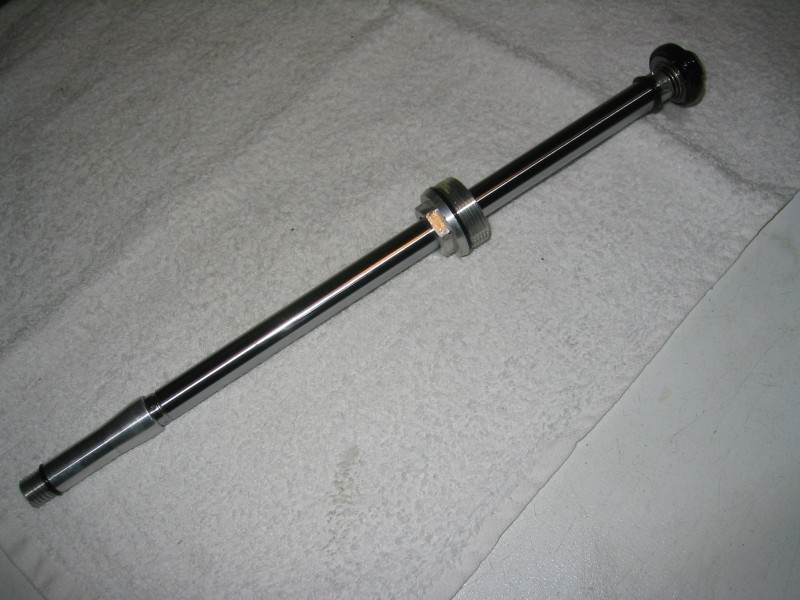
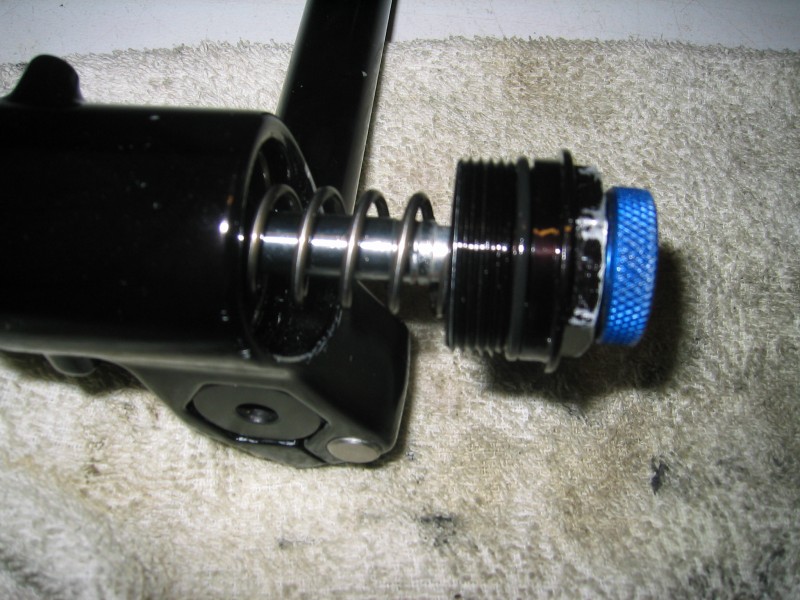
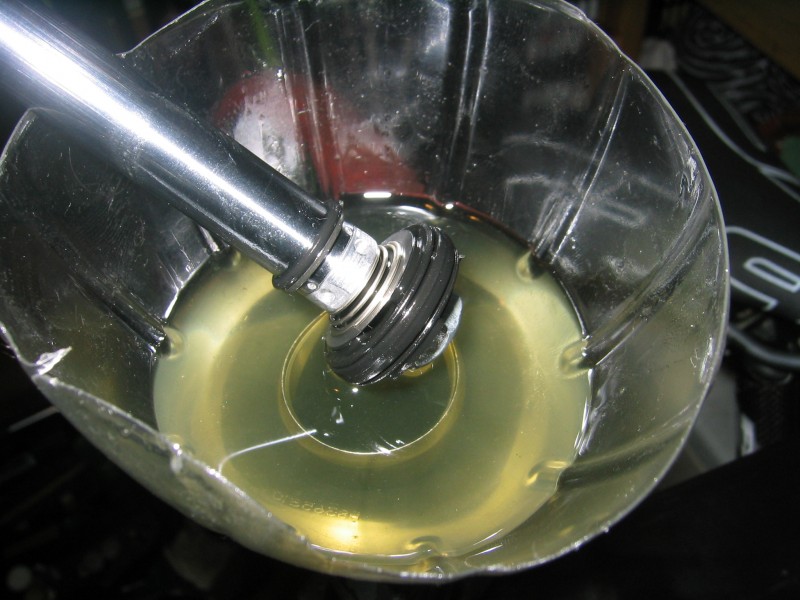
Unscrew the top cap...
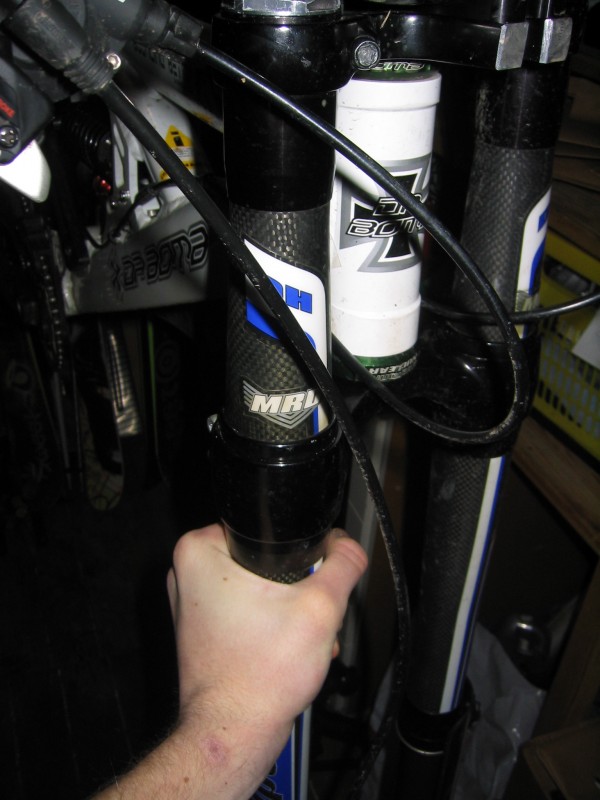
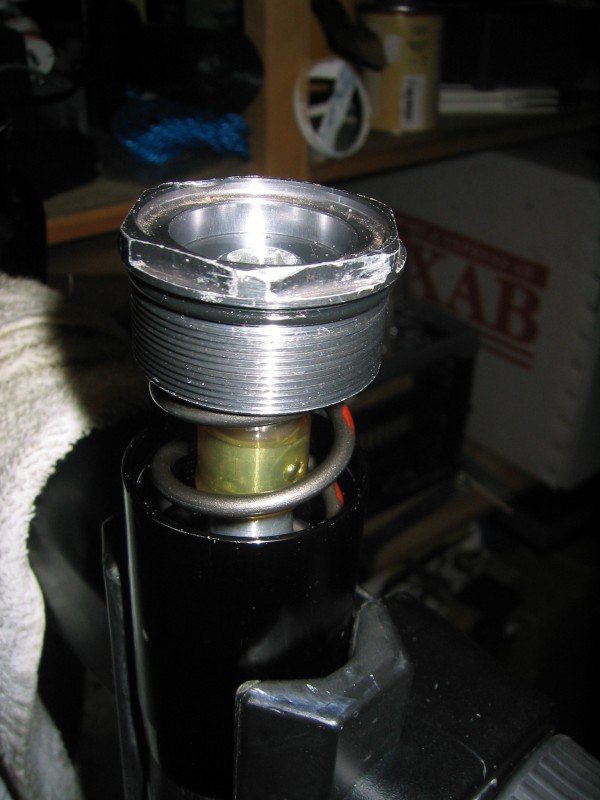
Now you have released the tension between inner and outer forklegs. It should be easy to lift up the internals approx. 10cm.
Take the forkleg out of the bikestand an put it on the ground.
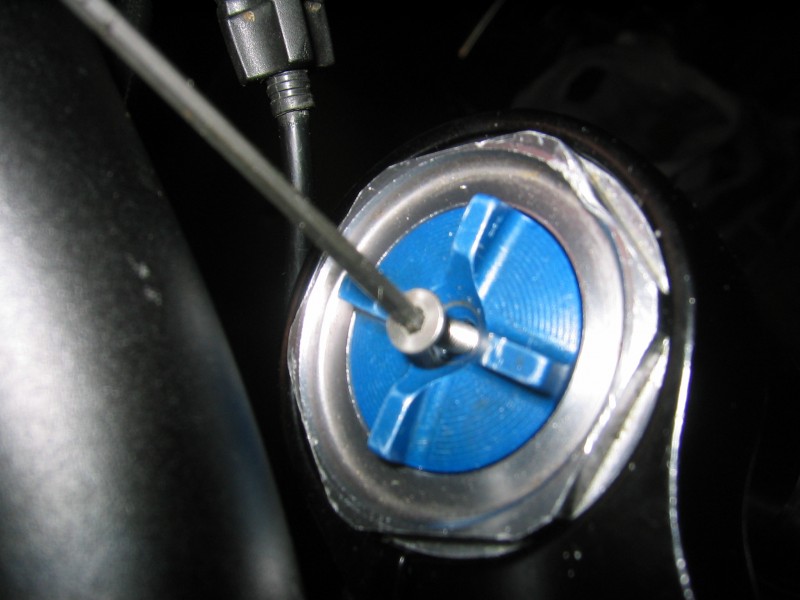
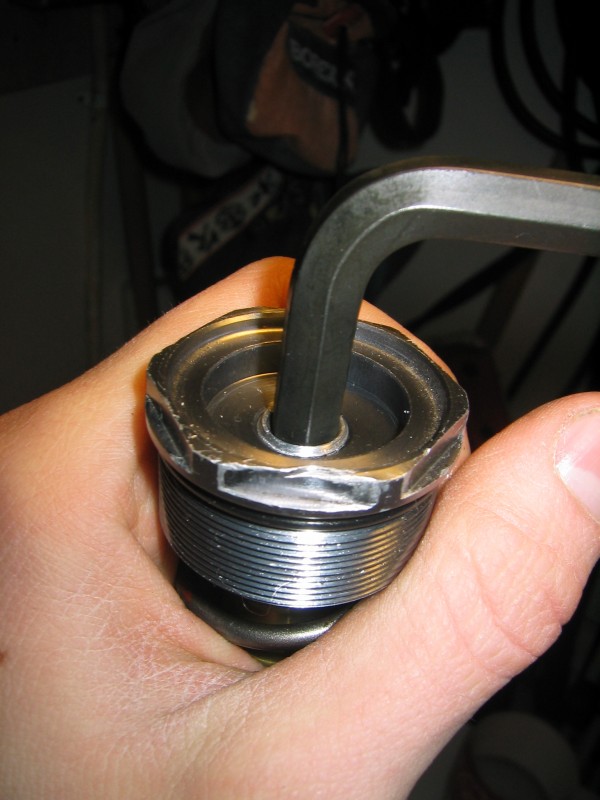
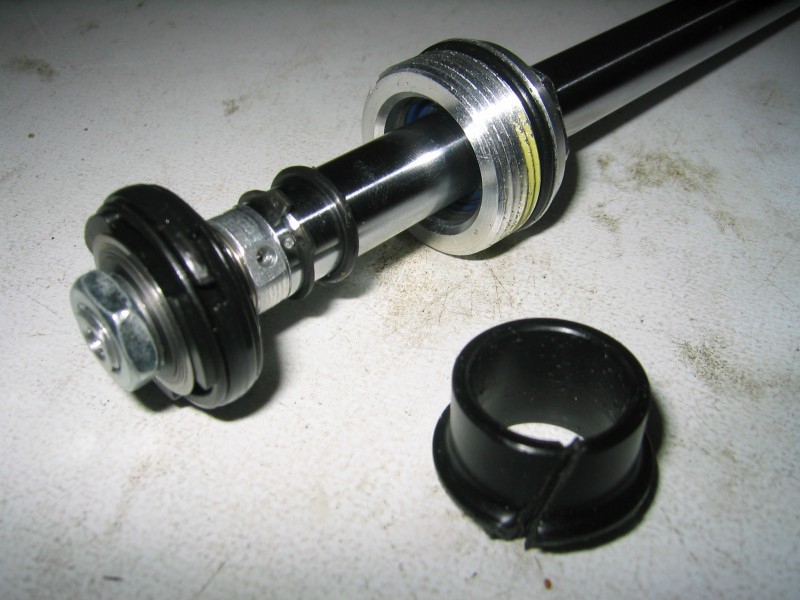
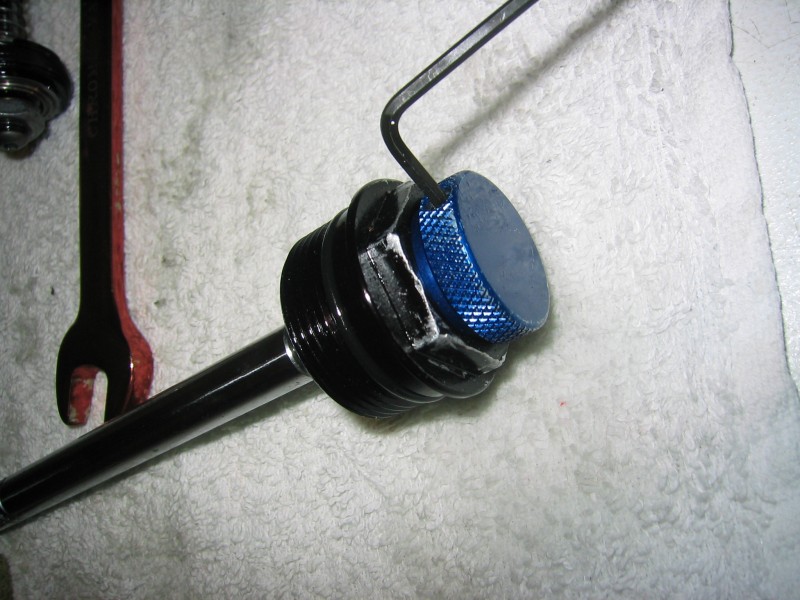
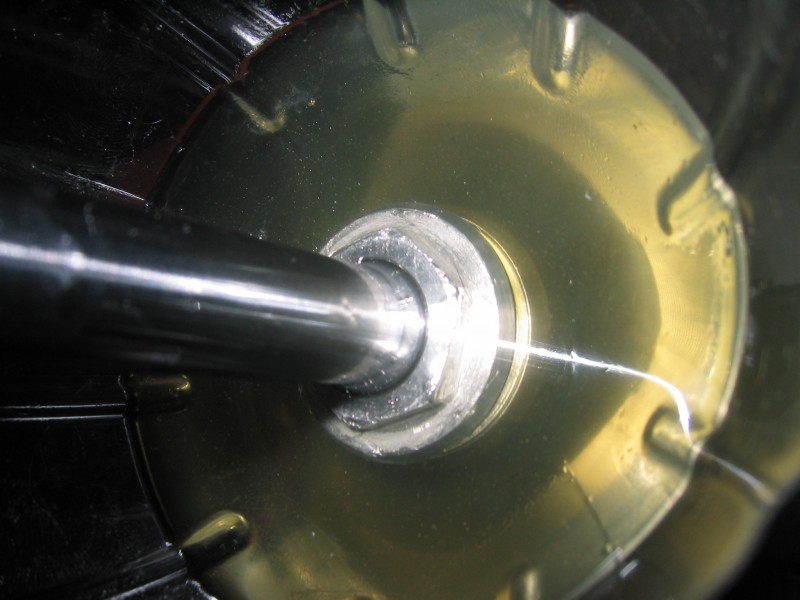
Grab the top cap and use an hex key (6mm) to unscrew it by turning clockwise...
REMEMBER: When you tighten this one up for reassemble, don't use much force. The rebound adjuster knob and screw will safe-lock it from the top, remember?
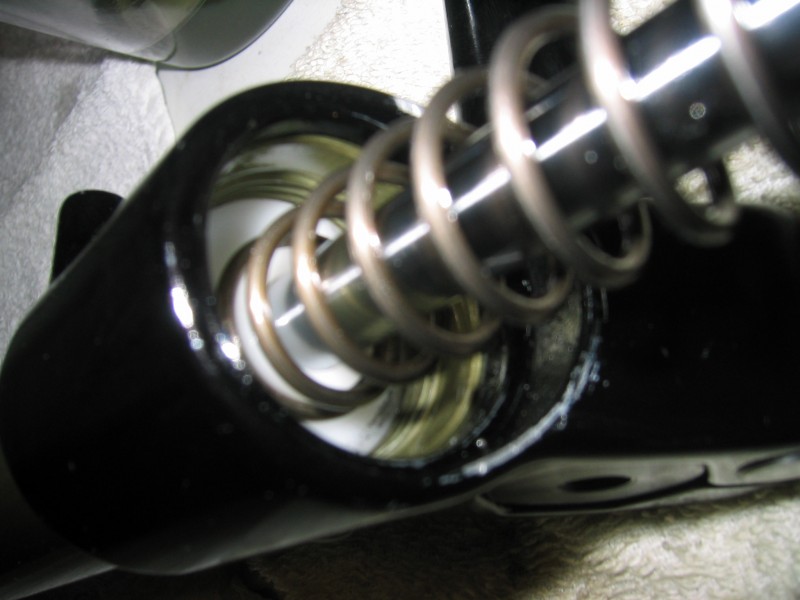
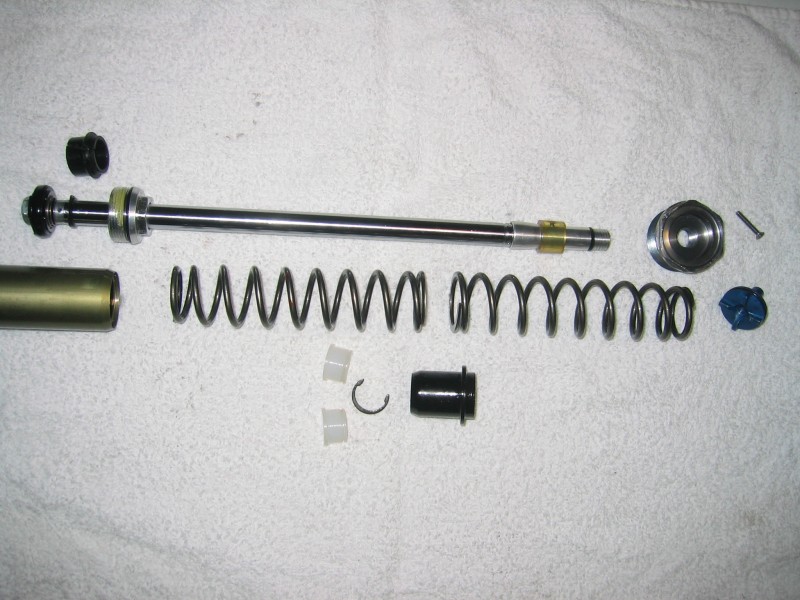
With the top cap off you can pick out the first spring.
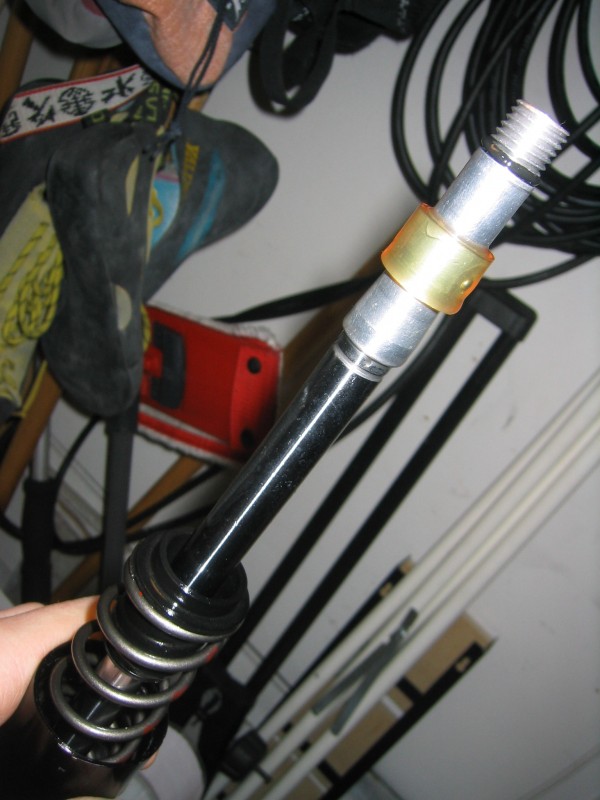
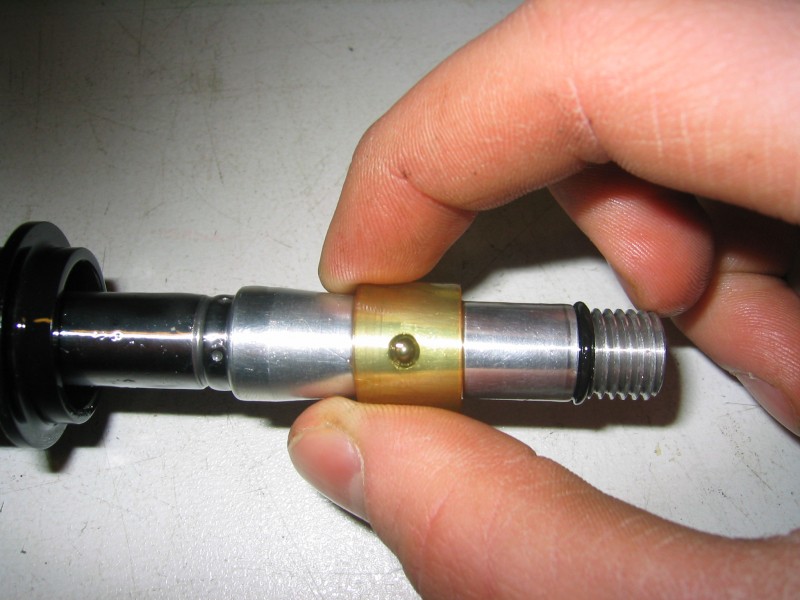
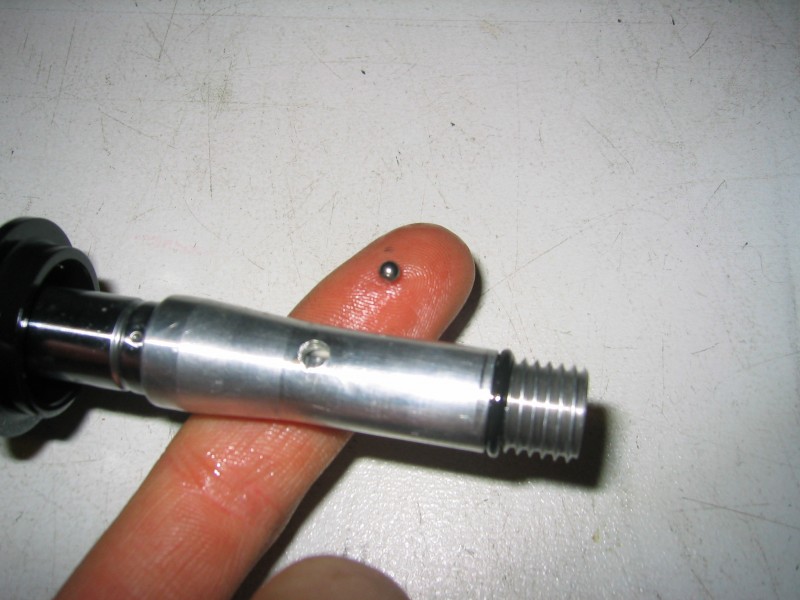
This part is kinda unnecessary but I'll show you anyway. To remove the ball wish makes the clicking sound and snaps when you turn the rebound knob, simply slide of the rubber tube and be ready to catch.
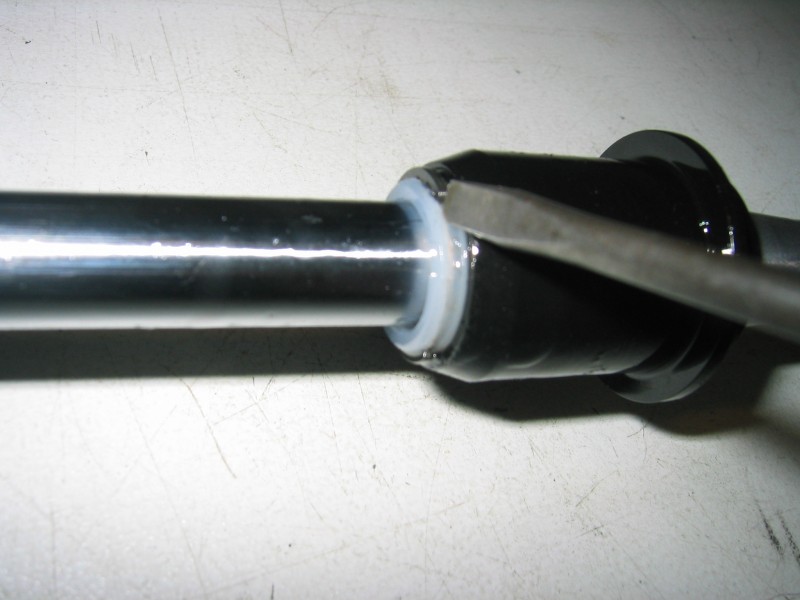
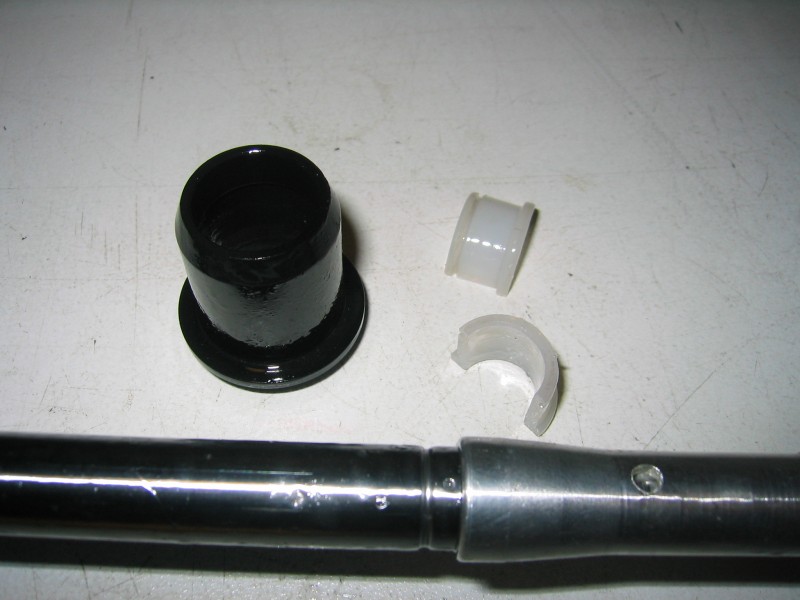
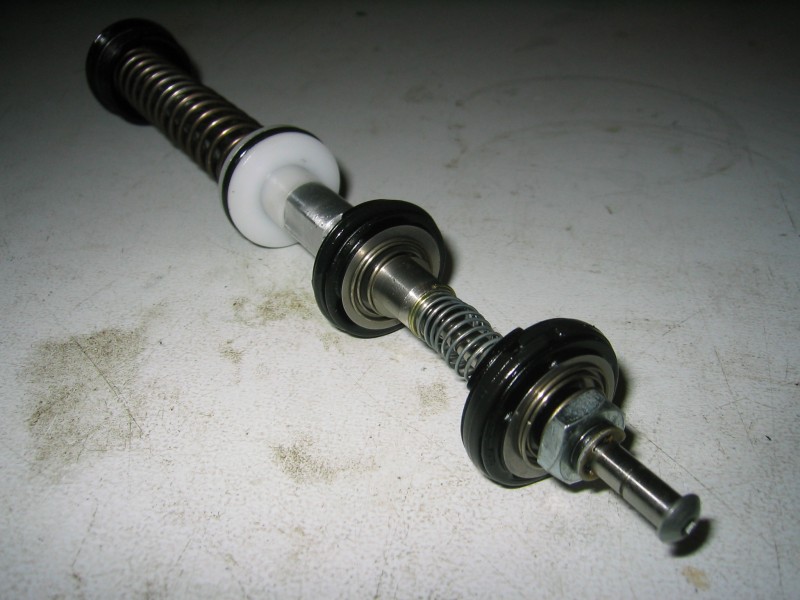
Remove the c-clip from the spring guide by pushing it from one end. With the c-clip is off you're able to slide the (-) threw the spring guide and then slide both the lower spring and guide off the rebound rod.
This far is how long you'll need to go if u're only going to clean and lube it up witch I advise you to do more often than rarely.
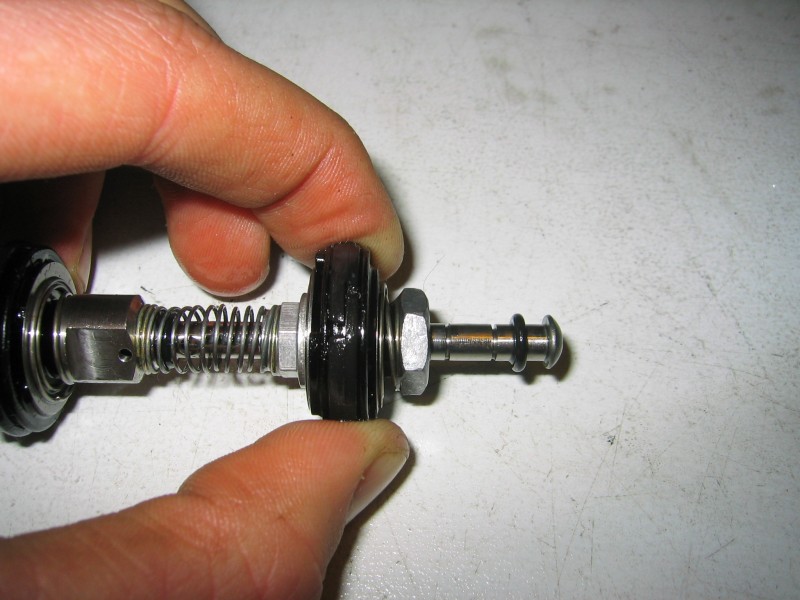
Next steps is for more rare services and adjustments.


This is a work in progress and some words are missing, some of the pictures may come in handy anyway!
Spelling/word help is appreciated!
-------------------------------------------------------------------------------------------------------------------------
After hours of searching for any helpful service info from Manitou about the Dorado 05 fork I gave up and realized there was none. I simply had to make my own. I'm no fork expert but i know my way around in the toolbox and understand basic physics. With some help from experienced fork mechanics, forums and hours of testing in my shed I've now completely documented a basic stage disassemble and the tricky air-bleeding part I've heard people had some problems with. Chimstaks I handle to fork experts, but one day I might learn and I assure you that it will be documented as well!
To start of, again... I'M NO EXPERT!
My technique has worked fine for me and I've actually managed to repair the fork from childhood damage caused by previous owner.
All info is grounded from speculations and testing.
If you find the left-leg documentary missing it's because I left that one out. It's built like the right one but without the tricky parts...
Step 1:
Start off by picking a playlist that makes you happy. This will take a while...
This is the set of tool that you'll need...
I'm required by duty to use an universal screw spanner cous I'm from Sweden. I STRONGLY advice you to find suitable double-ended spanners instead and you'll understand soon why by the looks of my pore headcaps and other internal nuts.
Oils: 2,5-5w fork oil ~200-300cc, 5w40 Motor oil ~50cc
Remove the hex-axel and front wheel by first fully untighten the main bolt on left side.
Untighten the 4 clampbolts, 2 on each leg.
Push the Hex-axle from the left side, sometimes you may have to re-install the main bolt halfway and give it a light tap with a rubber-hammer. always make sure there is a little greese on the axle when mounting and the next time taking it out it will be effortless.
Pull it out and remove the wheel.
Re-instal the Hex-axle again in right leg and tighten up the clamp bolt. This trick will come in handy later!
Remove the rebound adjuster bolt.
It can be tricky to pull it out by hand. I'm using a polygrip plier.
Loosen up the 3 crown-clamp bolts on right side.
Twist/pull the leg, the twisting makes it a HOLE lot easier I've noticed.
I'm using my bikestand in some of the steps. If you do, make sure to not over-tighten and look for sharp edges BEFORE you clamp the fragile legs.
Again, this is some seriously soft aluminium! find a suitable spanner!
Unscrew the top cap...
Now you have released the tension between inner and outer forklegs. It should be easy to lift up the internals approx. 10cm.
Take the forkleg out of the bikestand an put it on the ground.
Grab the top cap and use an hex key (6mm) to unscrew it by turning clockwise...
REMEMBER: When you tighten this one up for reassemble, don't use much force. The rebound adjuster knob and screw will safe-lock it from the top, remember?
With the top cap off you can pick out the first spring.
This part is kinda unnecessary but I'll show you anyway. To remove the ball wish makes the clicking sound and snaps when you turn the rebound knob, simply slide of the rubber tube and be ready to catch.
Remove the c-clip from the spring guide by pushing it from one end. With the c-clip is off you're able to slide the (-) threw the spring guide and then slide both the lower spring and guide off the rebound rod.
This far is how long you'll need to go if u're only going to clean and lube it up witch I advise you to do more often than rarely.
Next steps is for more rare services and adjustments.