Here's my disassembly and reassembly of an X9 rear shifter. I'm not too technical with my terminology but I'll do my best to keep the names for the parts as intuitive as I can. Hope this helps some of you out there. The info should be similar if not identical to the 07/08 X0's.I did my best with the pics and left them very large so you can see the detail. Most are clear, some are not. I will fine tune this over the next day or so. Check back on saturday for the final version.
Tool List:
"Y" wrench
additional 4mm allen
small phillips head screwdriver
6mm socket
fine needle nose pliers or a hemostat
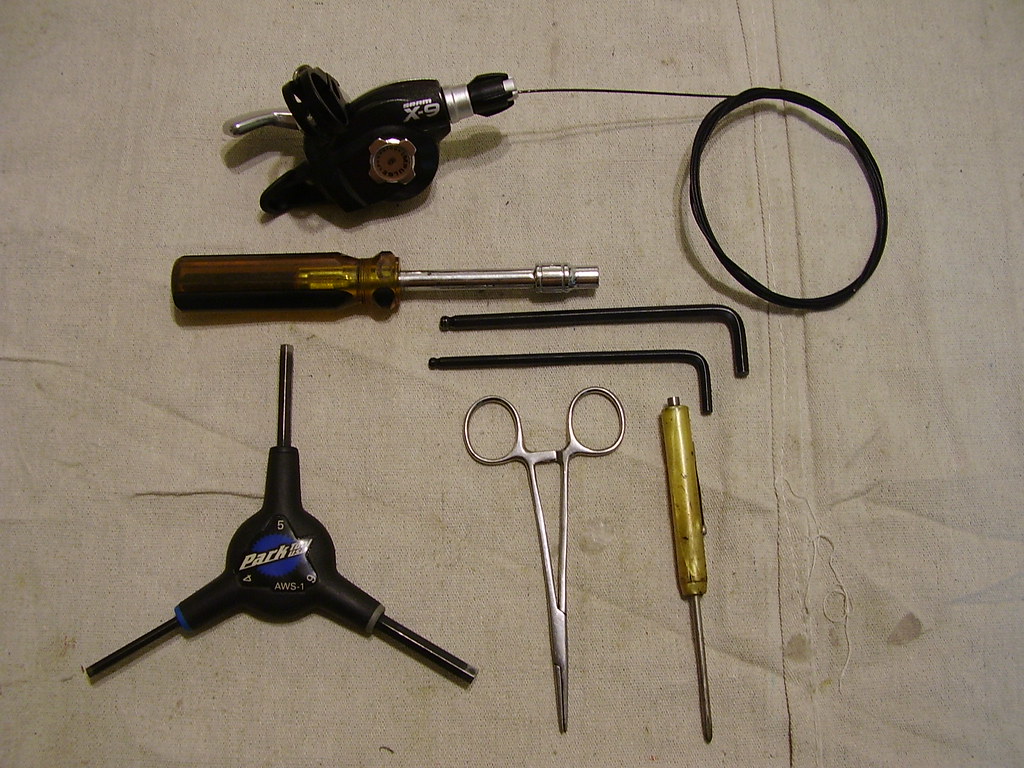
Before you begin, make sure to click the small lever until the shifter cable is as far out as it will go. For simplicities sake, I'll refer to the small lever as the down shift, and the long lever as the up shift.
Remove Bar Adapter
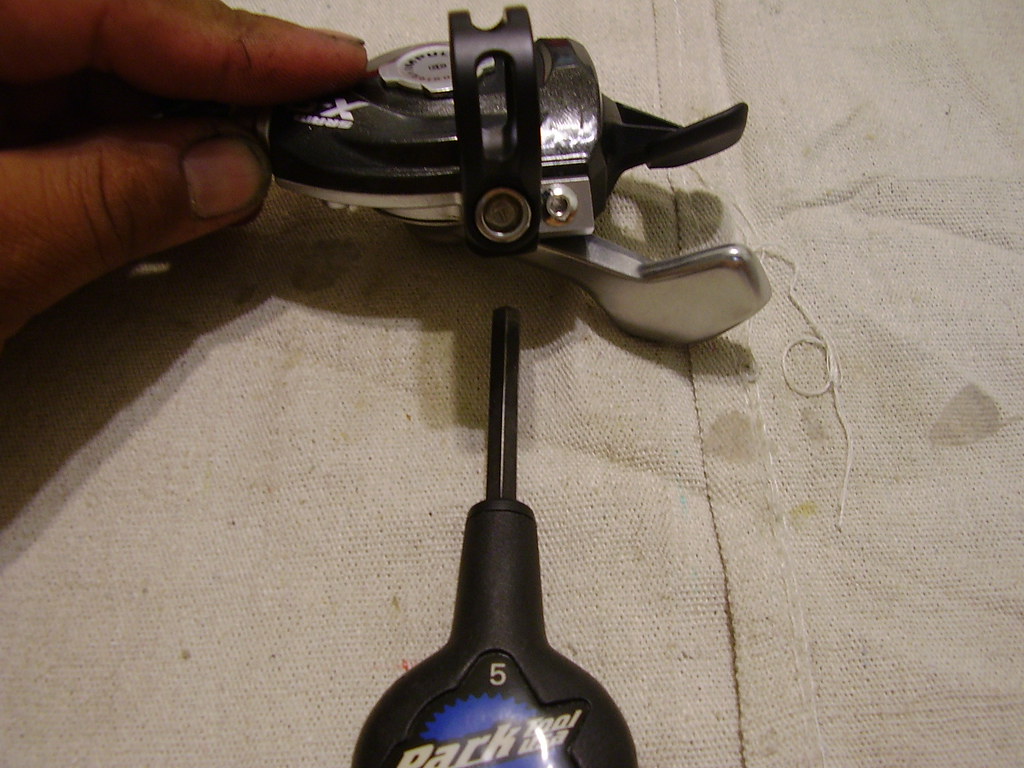
Remove Top Cover Bolt

Top Spring Configuration is very important. Take note of where these springs are "supposed" to go. Carefull when you remove them as they like to fly off in weird vectors.
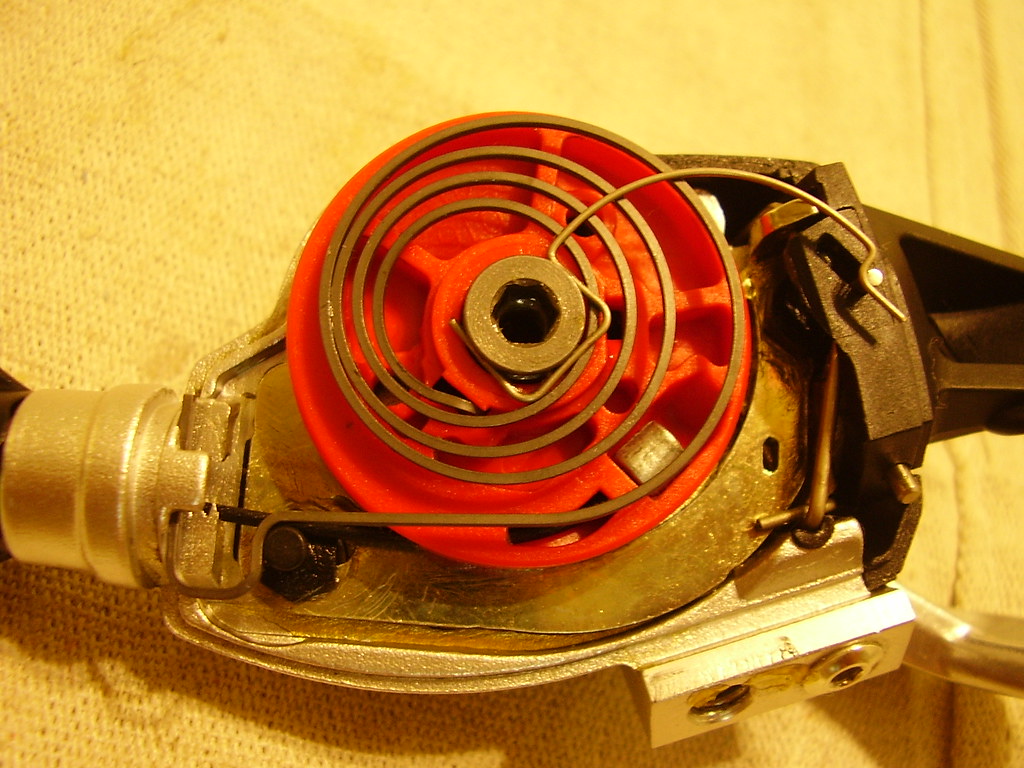
Unhook and remove the upper most spring (Top Spring 1)

Unhook and remove the coiled spring (Top Spring 2). Take note of the hole on the red disc where the inner end of Top Spring 2 inserts.
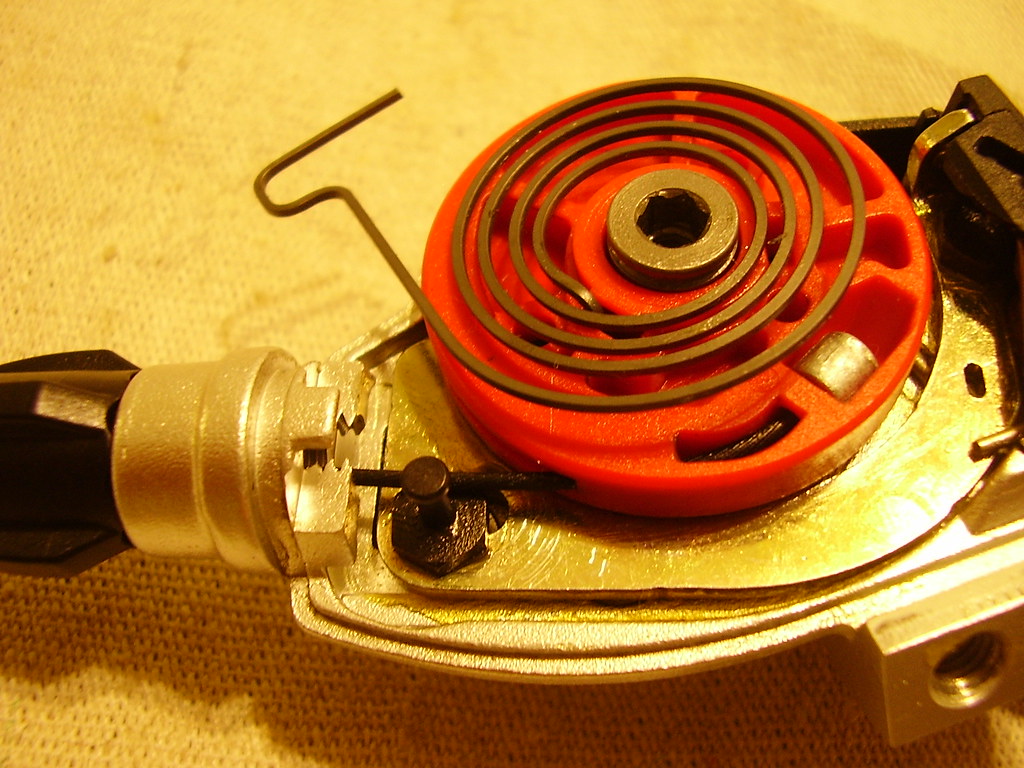
Remove the shifter cable.
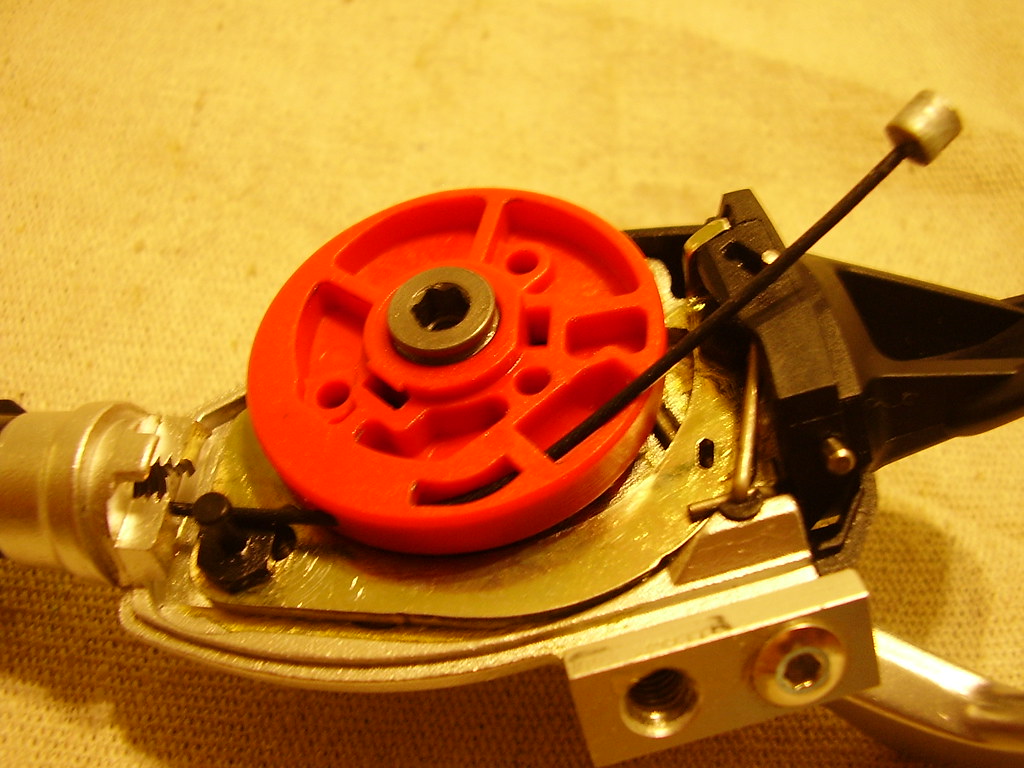
If you're changing the shifter cable, then the above steps are perfect. The SRAM users manual says to nudge the spring aside slightly and use a pick to remove the end of the shifter cable. I don't like nudging springs out of the way... Springs kinda like to fly away all sudden when you nudge. Spend the extra 30sec and remove the springs, but don't forget to put them back.
Now... on to the nitty gritty. The following steps are not for the timid. Read through the entire proceedure before attempting this on your shifter. If you have any doubts, DO NOT DO IT! If you're hard headed like me, then just be careful. Make sure you do this in an uncluttered area where you won't accidently knock a spring off onto the carpet or something.
Removing the Indexing Disc
You'll need the Y wrench and another 4mm allen for this. Insert one tool on the bottom and one on top. Loosen the bolt and nut (bolt = male portion, nut = female portion) but do not remove yet.
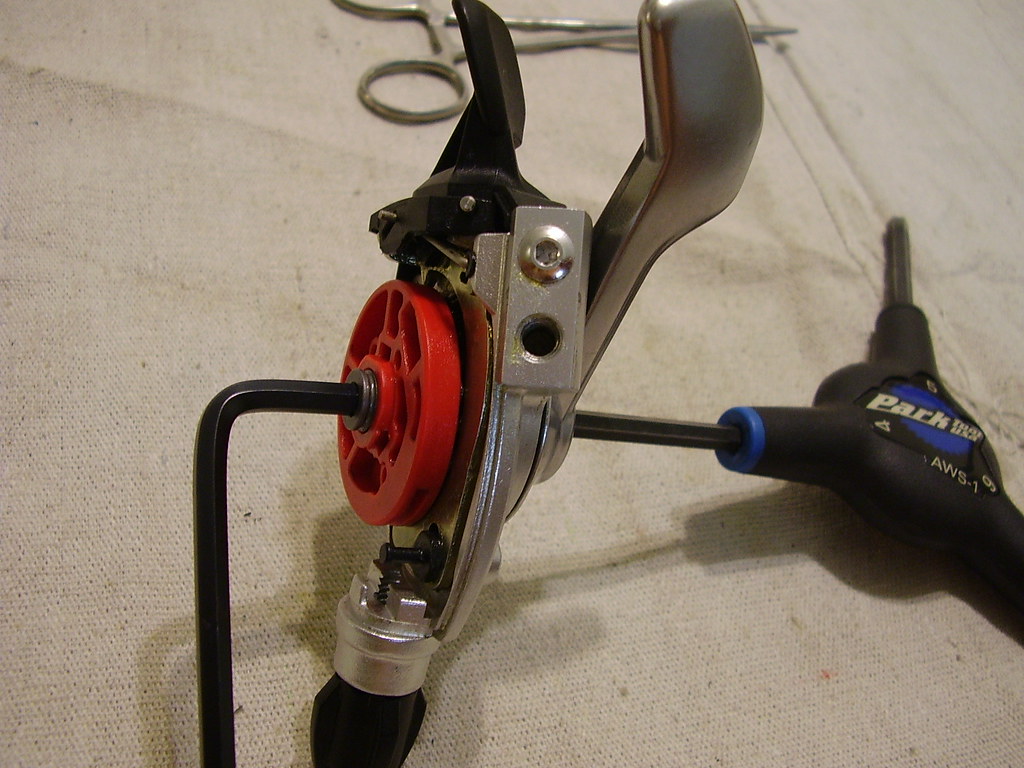
Remove the allen wrench from the red indexing disc and place the shifter disc side down on your palm. Grasp the shifter as seen in the pic.
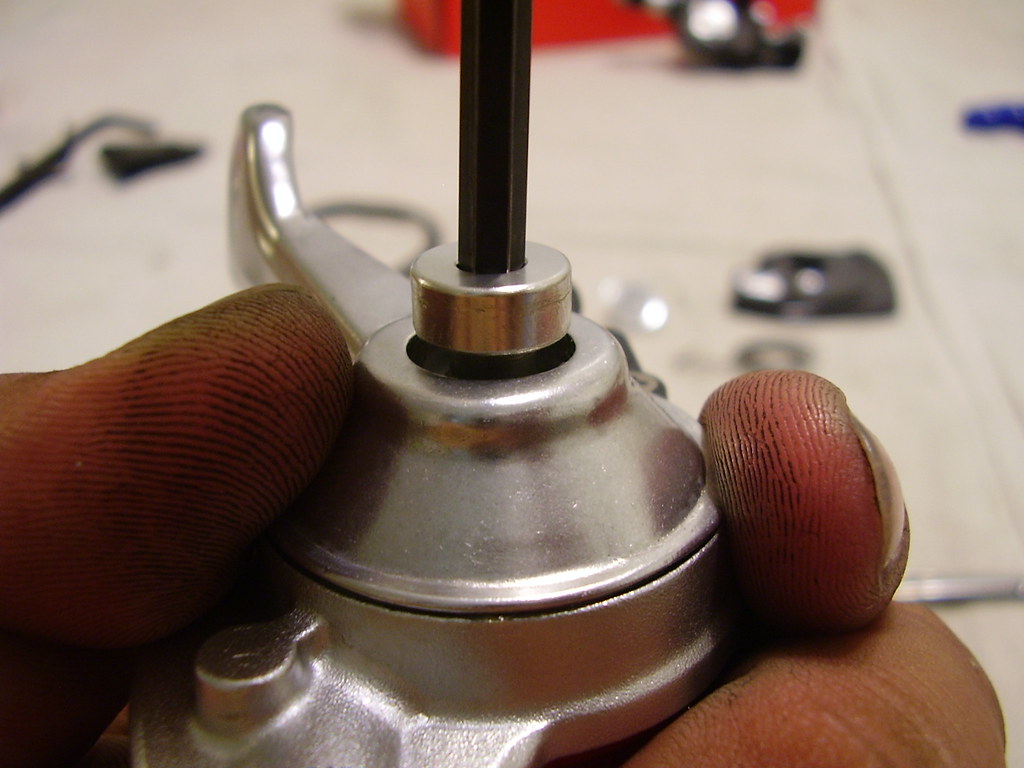
Completely loosen the nut while maintaining your grip on the shifter. Remove the Y wrench.

While maintaining your grip, push down on the nut until it is flush. This pushes the bolt away from the indexing disc.
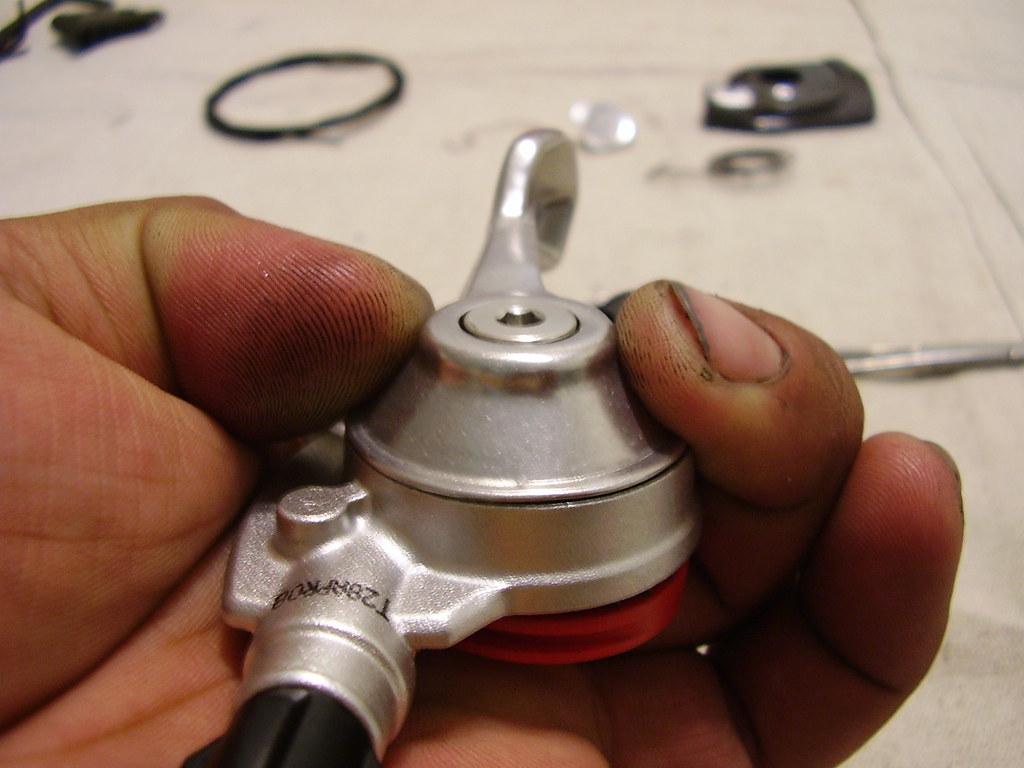
While keeping pressure on the nut and shifter body, flip the shifter over so the bolt sticks up.
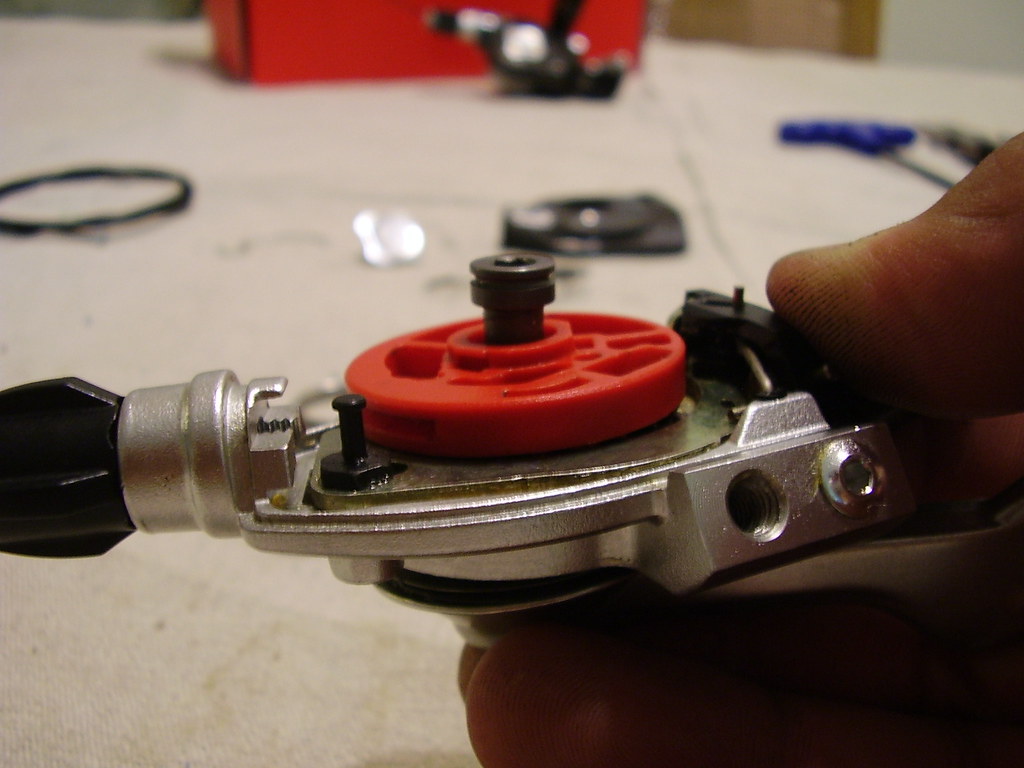
Remove the bolt and the indexing disc. Pay attention to the channel in the shifter body. See that little black nub that sticks out. Good... I just wanted you to see that... don't worry, it will make sense later.
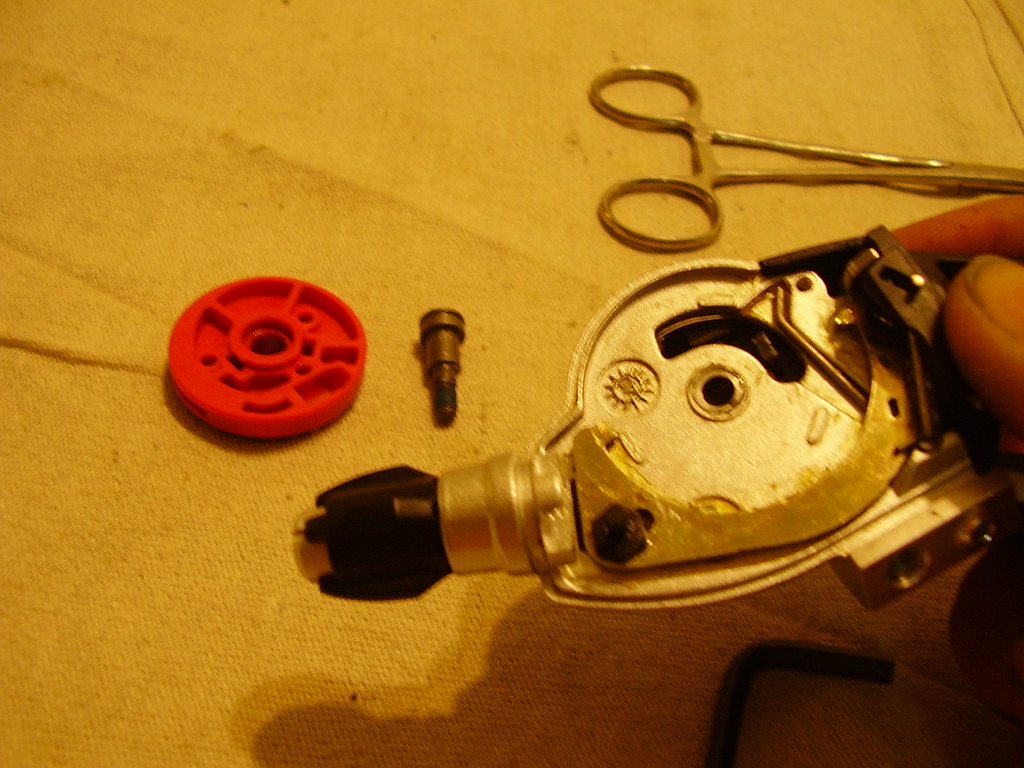
Flip the shifter over again and gently work the long shift lever off of the shifter body. You'll have to rotate it the way the spring tension wants to take it. I'm not specifying a direction because the direction of rotation for the front and rear shifter are different. Pay attention to where the spring inserts into the shift lever. Be very GENTLE so you do not distort the spring.
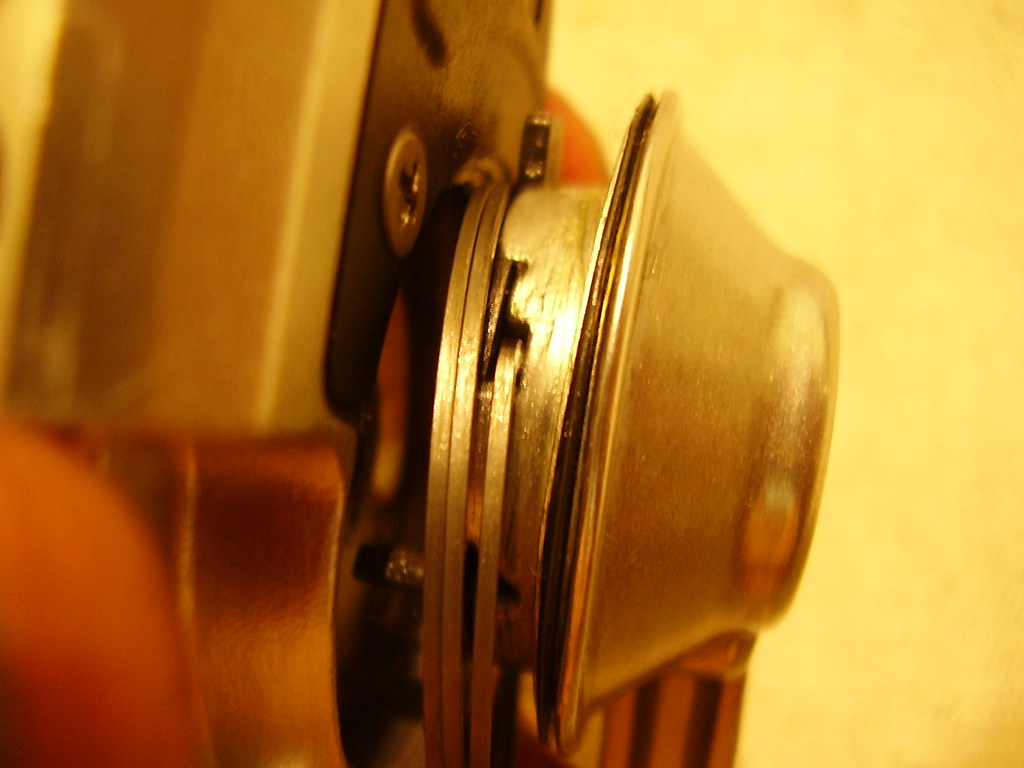
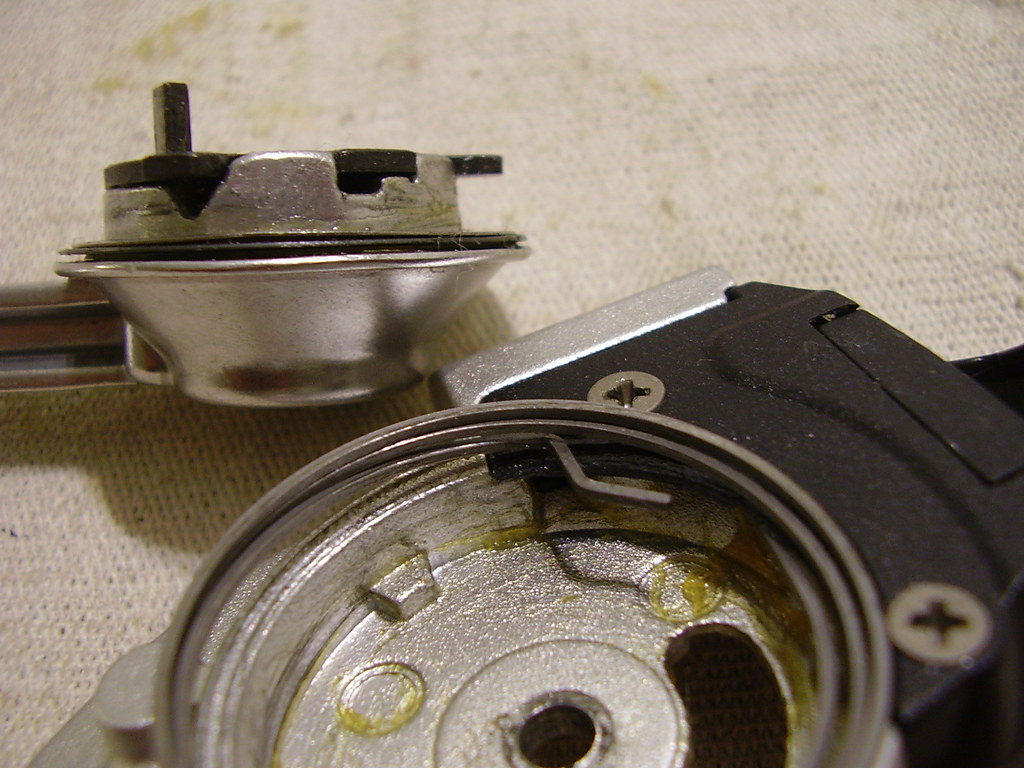
Remove the Spring Retaining Cover by removing the two phillips head screws. Take note of the position of the two visable springs.
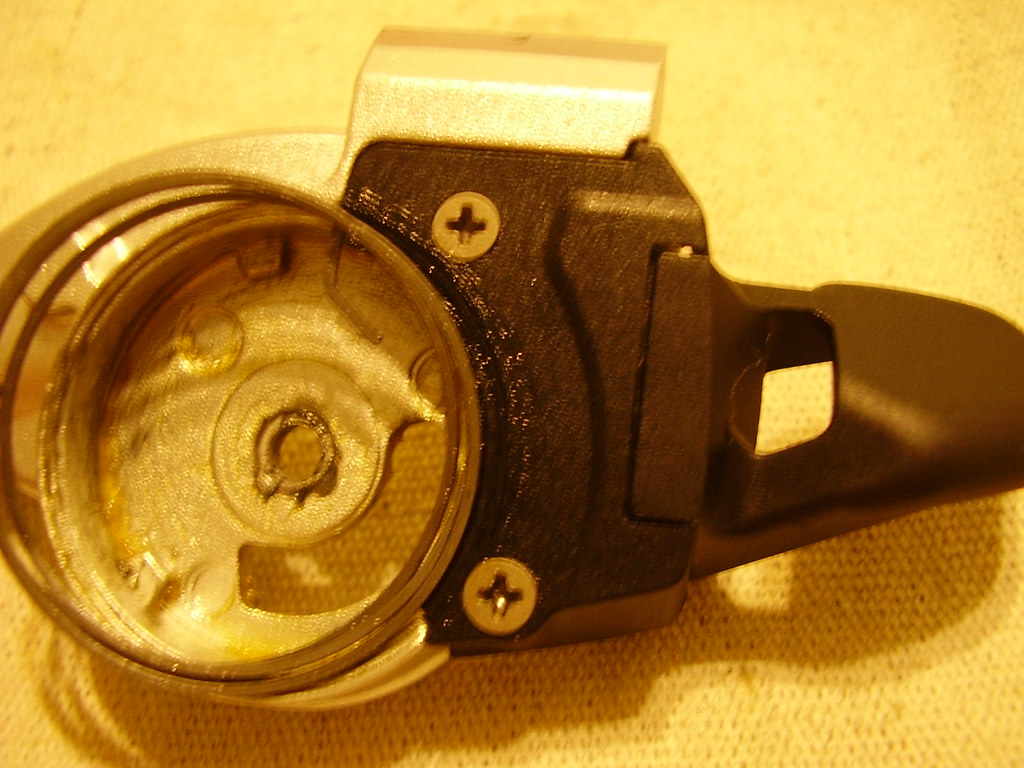
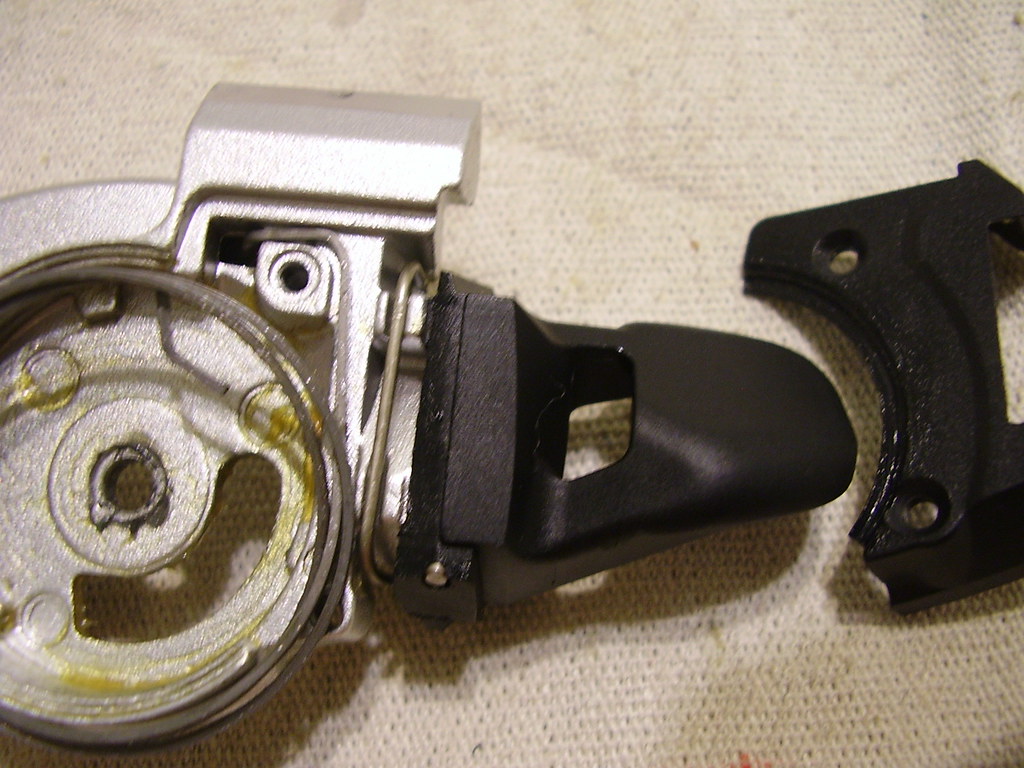
Remove the coiled spring (Bottom Spring 1). Take note of how it comes out of the shifter body.
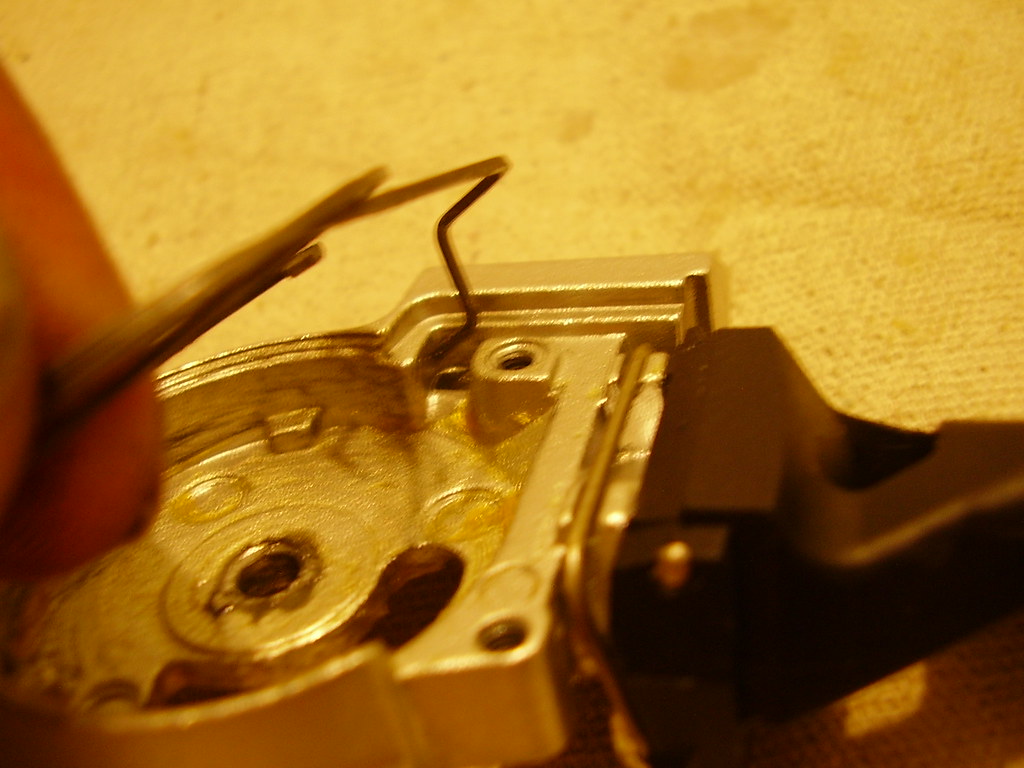
Flip the shifter over and take a close look at the springs and how they intertwine.
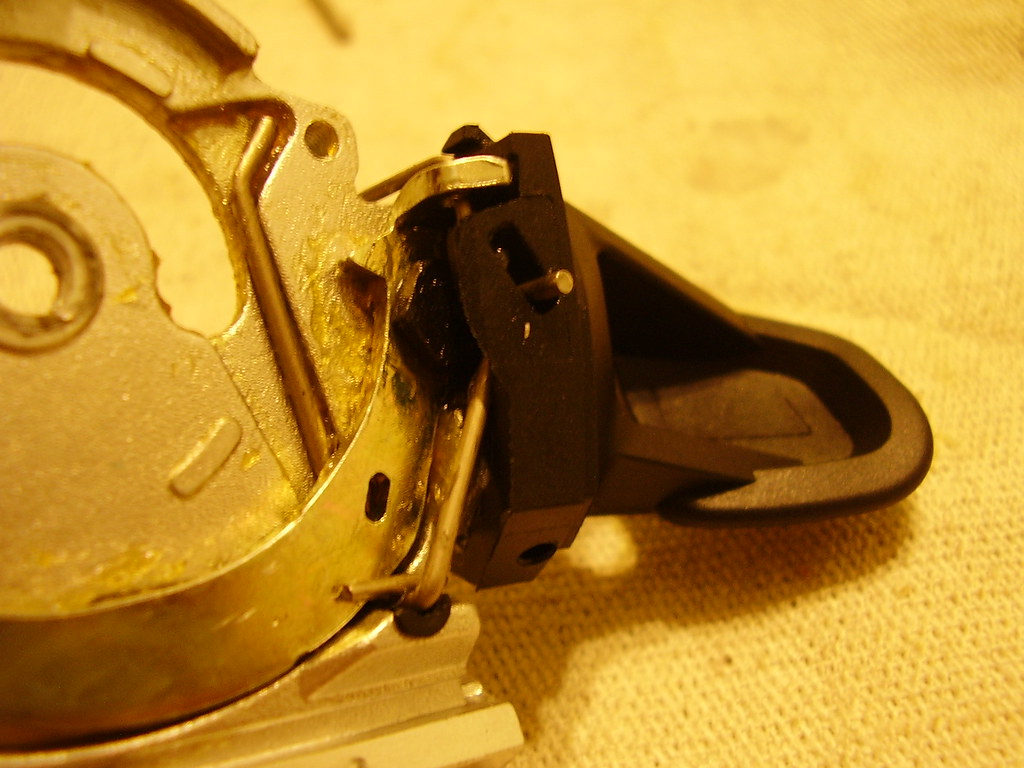
Push out the lever pin with the tip of your pliers or hemostat. Pull the pin out.
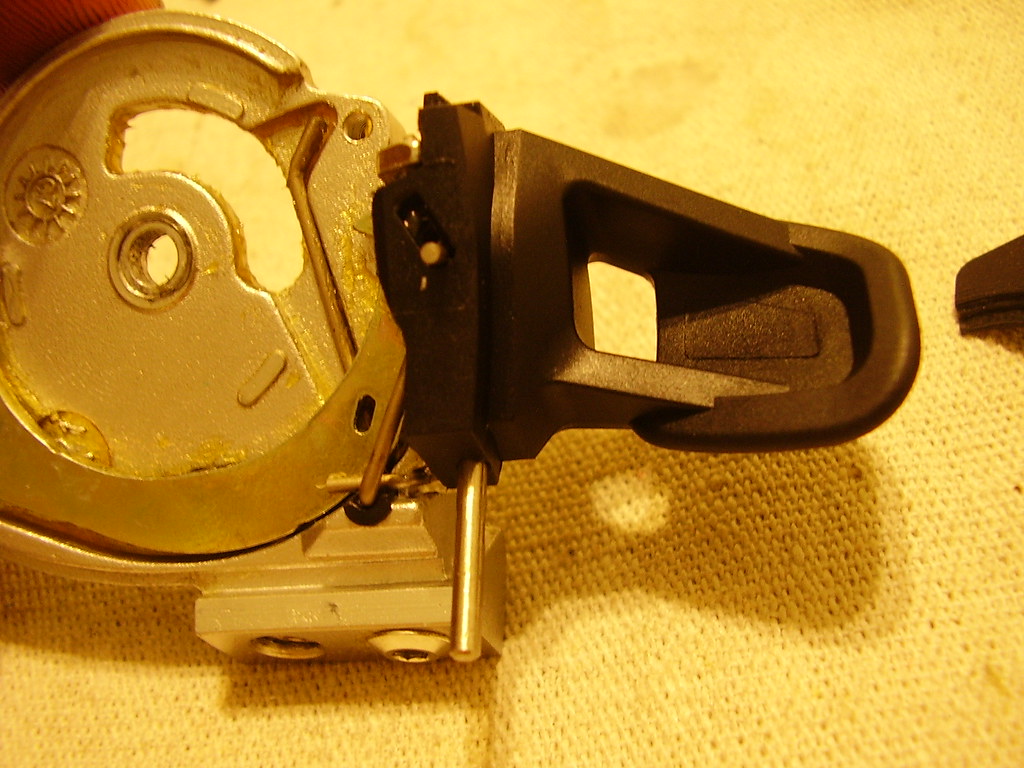
Wiggle off the Short Shift Lever and pay attention to how the spring comes through the lever body. Keep an eye on the little black spring bushing. If you look hard enough you'll see it, it's right where the two springs intertwine.
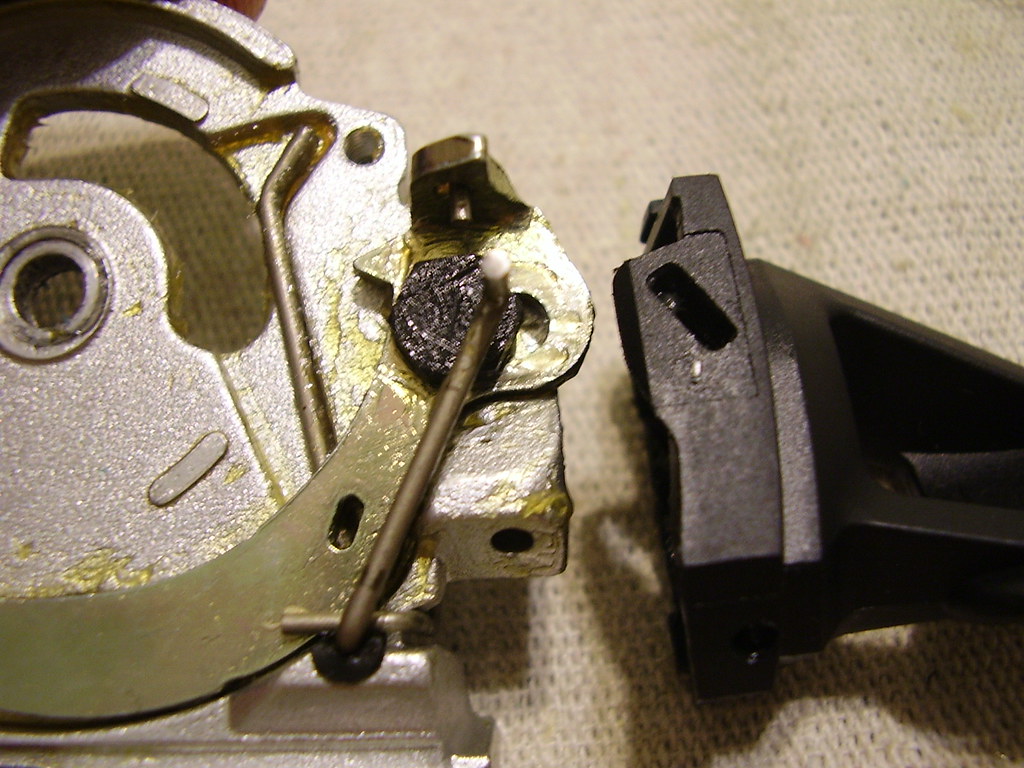
Look how this spring sits on the shifter body. Carefully, remove this spring (bottom spring 2) with your pliers or hemostat.
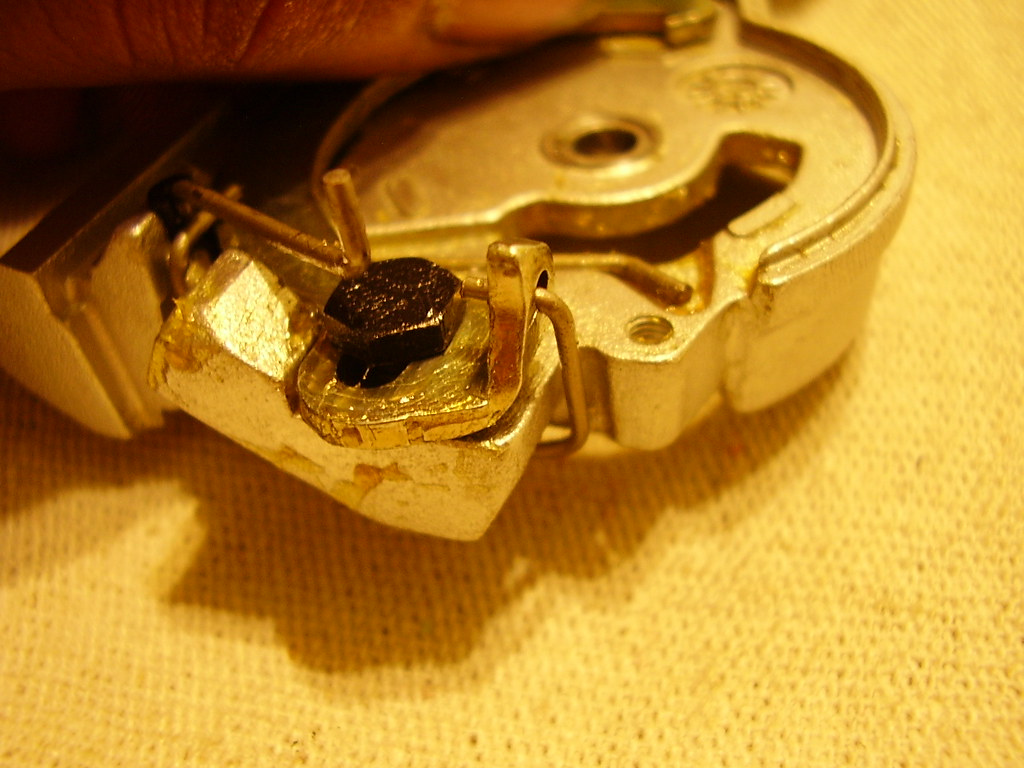
Remove the spring bushing and set it aside.
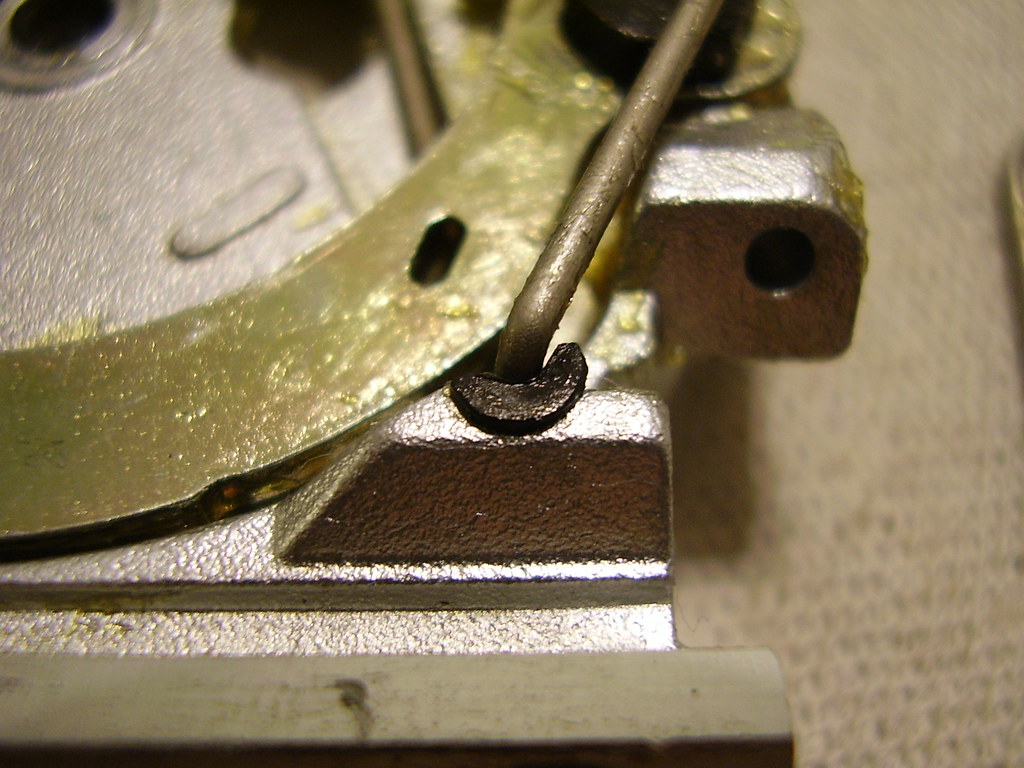
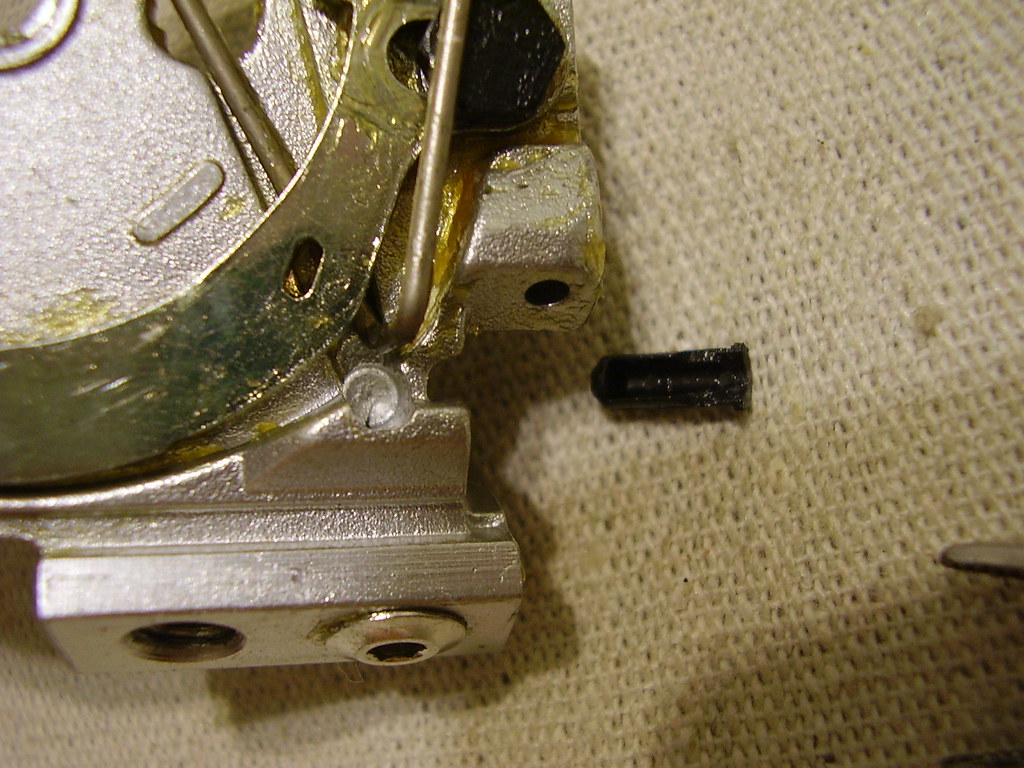
Remove the index actuator by using the 6mm socket to remove the two bolts. Lift the remaining spring from the shifter body and set all the parts aside.
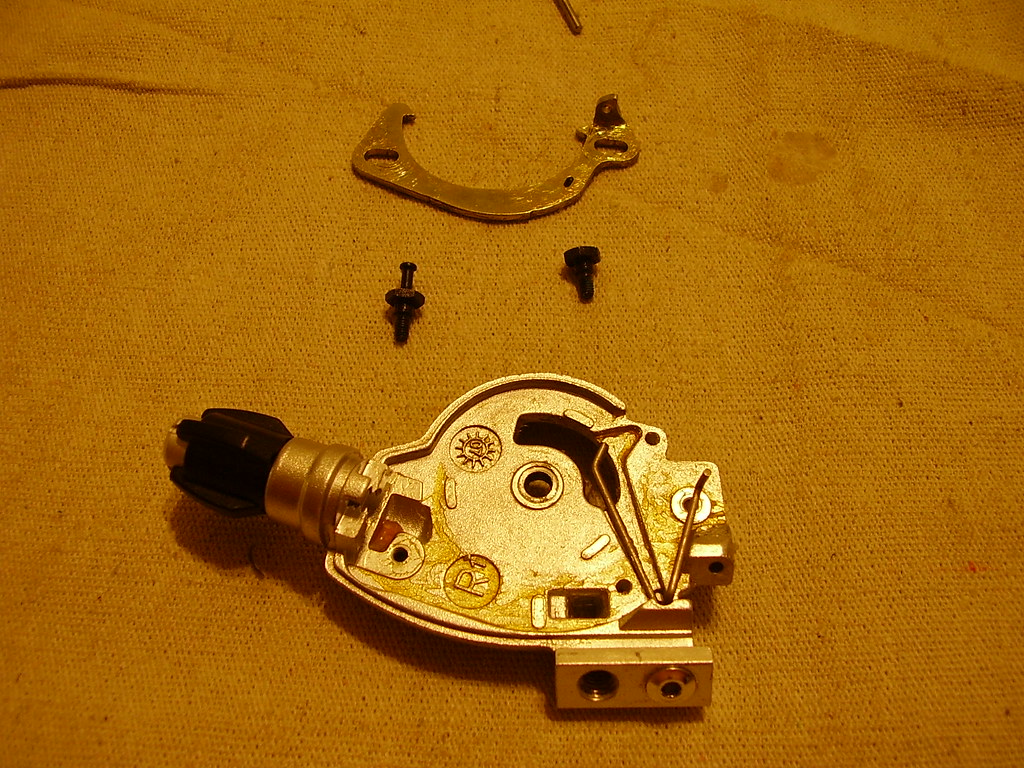
There really is no purpose to this step, as there really isn't anything in there that will break.... unless you crash and snap the lever. It only works one way otherwise you won't be able to get the cover back on.
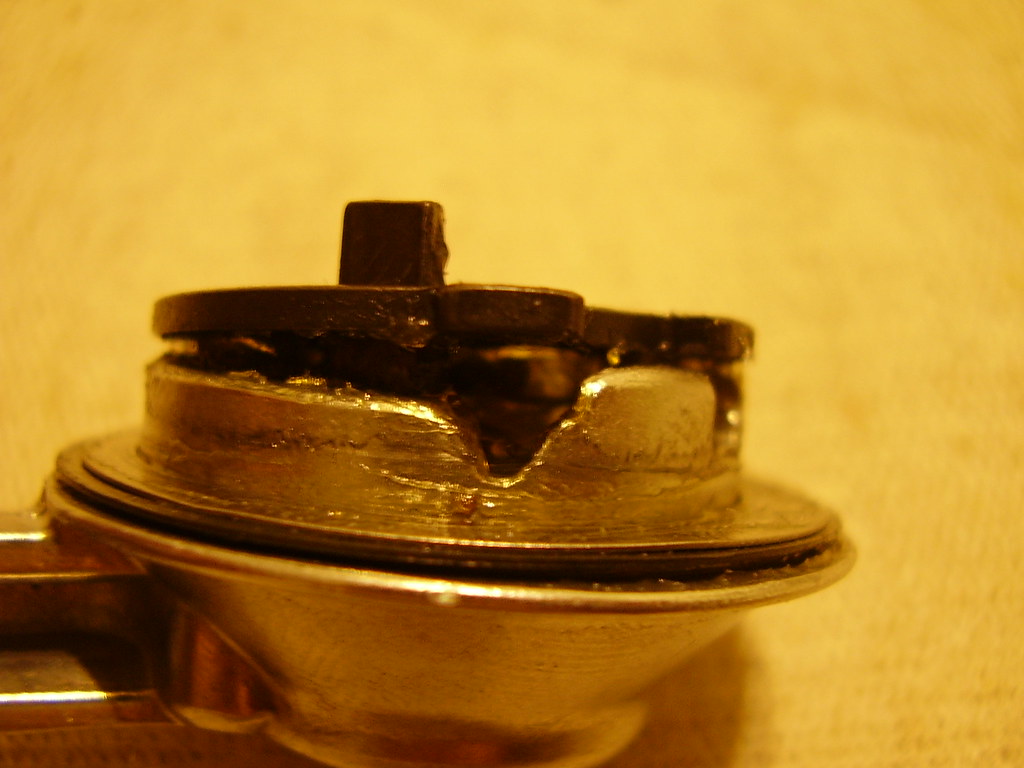
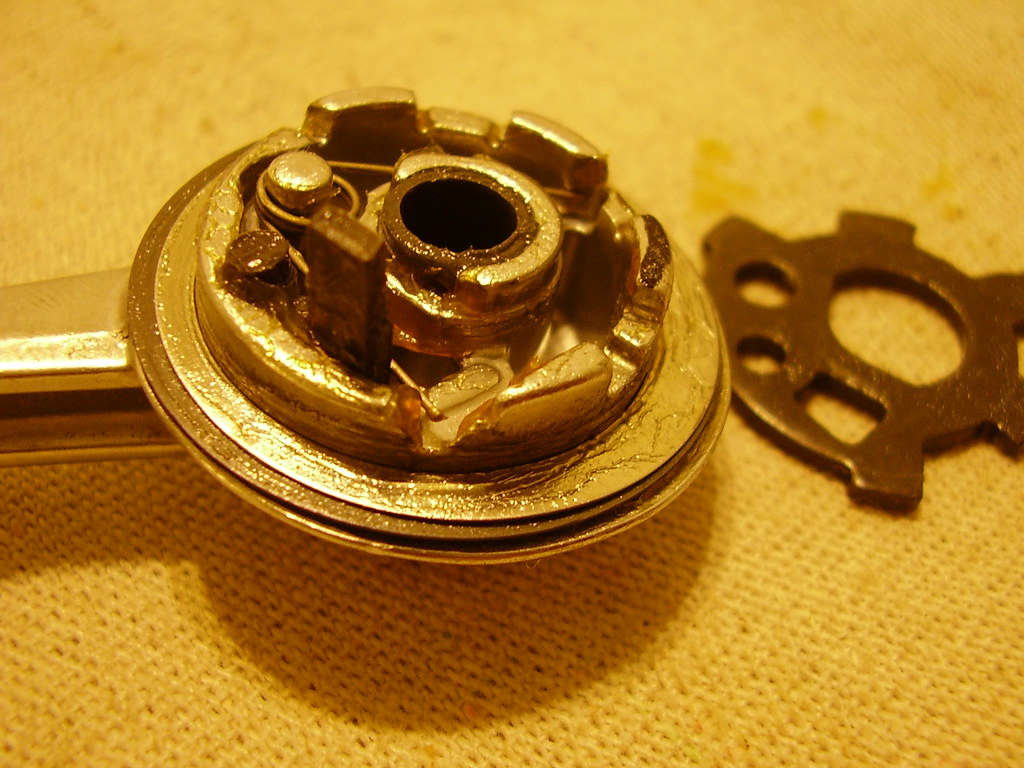
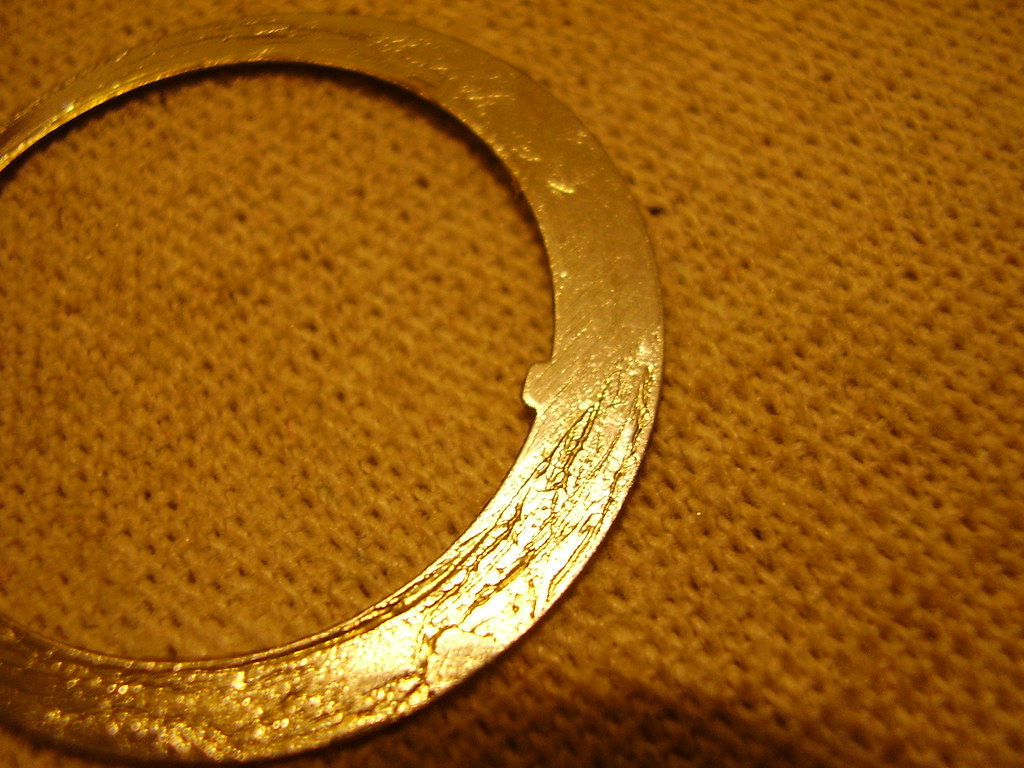
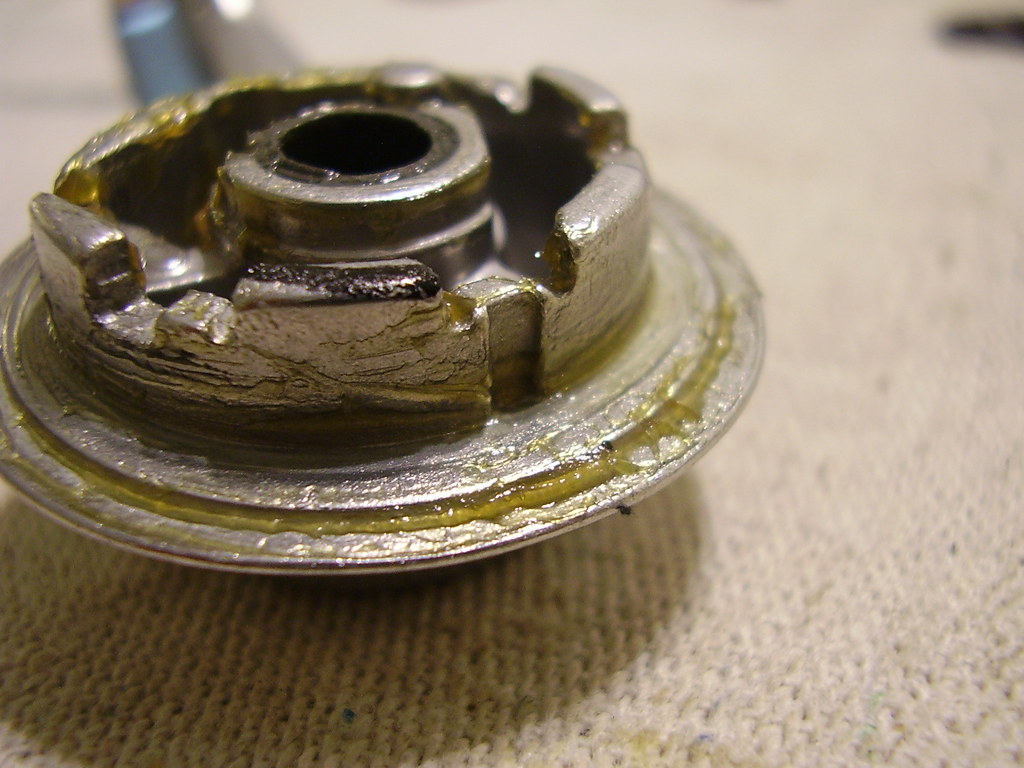
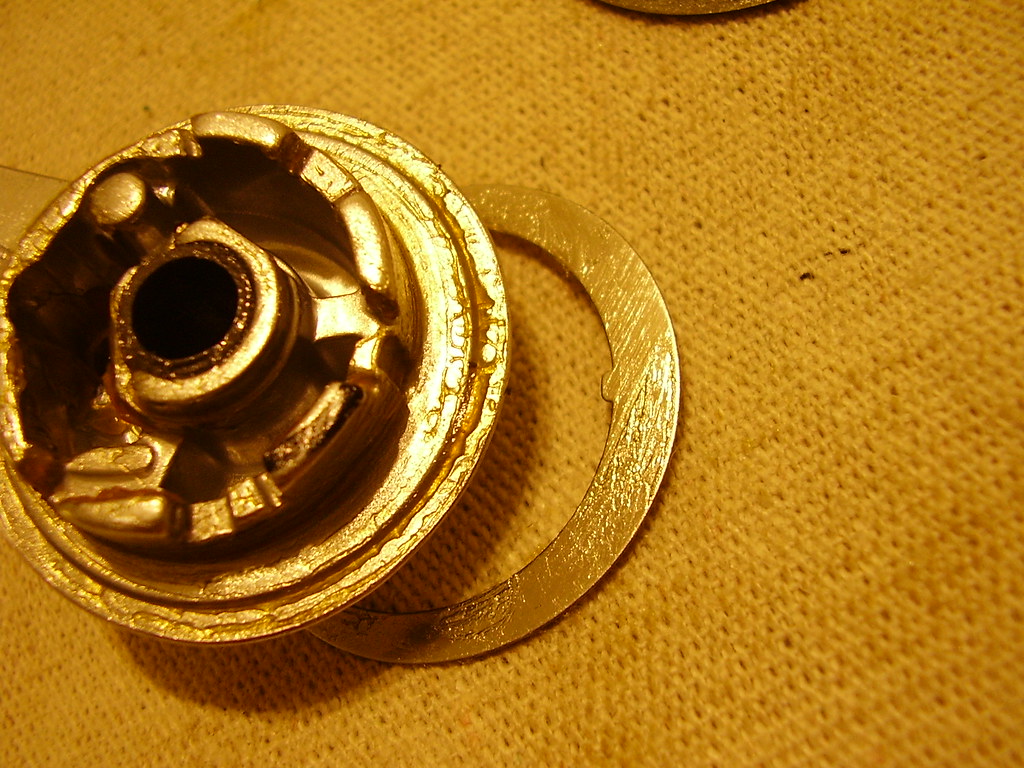
Remove the top cover of the long shift lever by carefully lifting it off with your finger. You can use the small phillips driver to help nudge it off. Carefull, there's a spring inside. When you put the top cover back on, make sure to line up all the holes on the cover with the pieces inside the lever. The cover only goes on one way. There are two large washers surrounding the center of the lever. One is symectrical, the other is not. The one that is not has a protrusion on the inner edge. That protrusion mates to a notch on the lever body. Make sure to line those up when you reassemble. The symmetrical washer sits between the non symmetrical washer and the lever body.


This entire proceedure is apparently too long. The assembly portion is in this thread
http://www.ridemonkey.com/forums/showthread.php?p=3012736#post3012736

Tool List:
"Y" wrench
additional 4mm allen
small phillips head screwdriver
6mm socket
fine needle nose pliers or a hemostat

Before you begin, make sure to click the small lever until the shifter cable is as far out as it will go. For simplicities sake, I'll refer to the small lever as the down shift, and the long lever as the up shift.
Remove Bar Adapter

Remove Top Cover Bolt

Top Spring Configuration is very important. Take note of where these springs are "supposed" to go. Carefull when you remove them as they like to fly off in weird vectors.

Unhook and remove the upper most spring (Top Spring 1)

Unhook and remove the coiled spring (Top Spring 2). Take note of the hole on the red disc where the inner end of Top Spring 2 inserts.

Remove the shifter cable.

If you're changing the shifter cable, then the above steps are perfect. The SRAM users manual says to nudge the spring aside slightly and use a pick to remove the end of the shifter cable. I don't like nudging springs out of the way... Springs kinda like to fly away all sudden when you nudge. Spend the extra 30sec and remove the springs, but don't forget to put them back.
Now... on to the nitty gritty. The following steps are not for the timid. Read through the entire proceedure before attempting this on your shifter. If you have any doubts, DO NOT DO IT! If you're hard headed like me, then just be careful. Make sure you do this in an uncluttered area where you won't accidently knock a spring off onto the carpet or something.
Removing the Indexing Disc
You'll need the Y wrench and another 4mm allen for this. Insert one tool on the bottom and one on top. Loosen the bolt and nut (bolt = male portion, nut = female portion) but do not remove yet.

Remove the allen wrench from the red indexing disc and place the shifter disc side down on your palm. Grasp the shifter as seen in the pic.

Completely loosen the nut while maintaining your grip on the shifter. Remove the Y wrench.

While maintaining your grip, push down on the nut until it is flush. This pushes the bolt away from the indexing disc.

While keeping pressure on the nut and shifter body, flip the shifter over so the bolt sticks up.

Remove the bolt and the indexing disc. Pay attention to the channel in the shifter body. See that little black nub that sticks out. Good... I just wanted you to see that... don't worry, it will make sense later.

Flip the shifter over again and gently work the long shift lever off of the shifter body. You'll have to rotate it the way the spring tension wants to take it. I'm not specifying a direction because the direction of rotation for the front and rear shifter are different. Pay attention to where the spring inserts into the shift lever. Be very GENTLE so you do not distort the spring.


Remove the Spring Retaining Cover by removing the two phillips head screws. Take note of the position of the two visable springs.


Remove the coiled spring (Bottom Spring 1). Take note of how it comes out of the shifter body.

Flip the shifter over and take a close look at the springs and how they intertwine.

Push out the lever pin with the tip of your pliers or hemostat. Pull the pin out.

Wiggle off the Short Shift Lever and pay attention to how the spring comes through the lever body. Keep an eye on the little black spring bushing. If you look hard enough you'll see it, it's right where the two springs intertwine.

Look how this spring sits on the shifter body. Carefully, remove this spring (bottom spring 2) with your pliers or hemostat.

Remove the spring bushing and set it aside.


Remove the index actuator by using the 6mm socket to remove the two bolts. Lift the remaining spring from the shifter body and set all the parts aside.

There really is no purpose to this step, as there really isn't anything in there that will break.... unless you crash and snap the lever. It only works one way otherwise you won't be able to get the cover back on.
Remove the top cover of the long shift lever by carefully lifting it off with your finger. You can use the small phillips driver to help nudge it off. Carefull, there's a spring inside. When you put the top cover back on, make sure to line up all the holes on the cover with the pieces inside the lever. The cover only goes on one way. There are two large washers surrounding the center of the lever. One is symectrical, the other is not. The one that is not has a protrusion on the inner edge. That protrusion mates to a notch on the lever body. Make sure to line those up when you reassemble. The symmetrical washer sits between the non symmetrical washer and the lever body.


This entire proceedure is apparently too long. The assembly portion is in this thread
http://www.ridemonkey.com/forums/showthread.php?p=3012736#post3012736

Last edited:
 "
"
